Unable to Make Abutment Level Impressions: Recommendations?
Anon. asks:
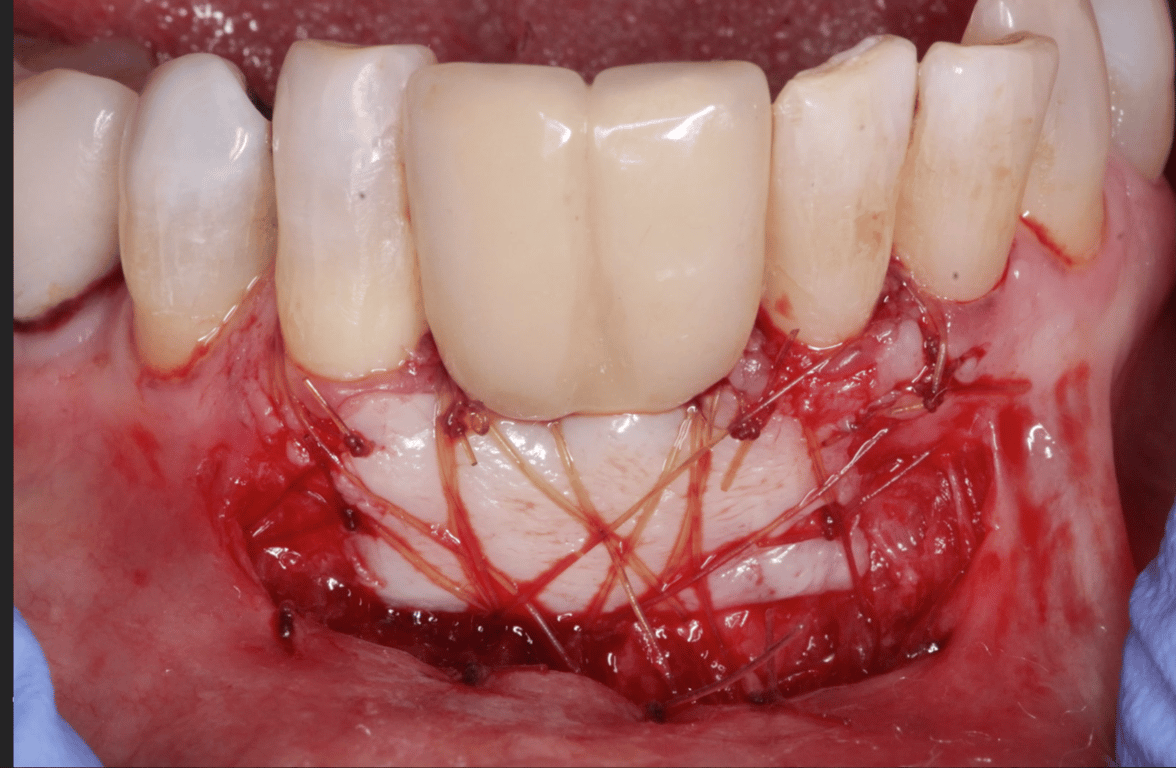
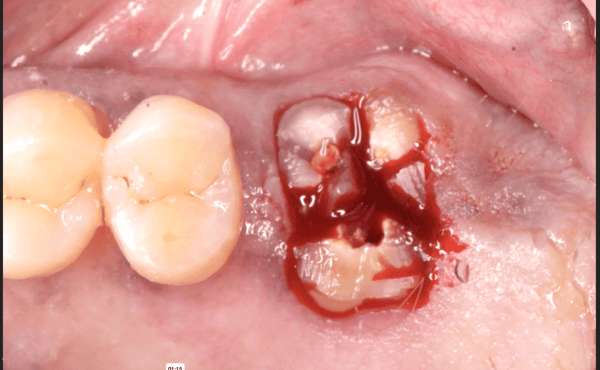
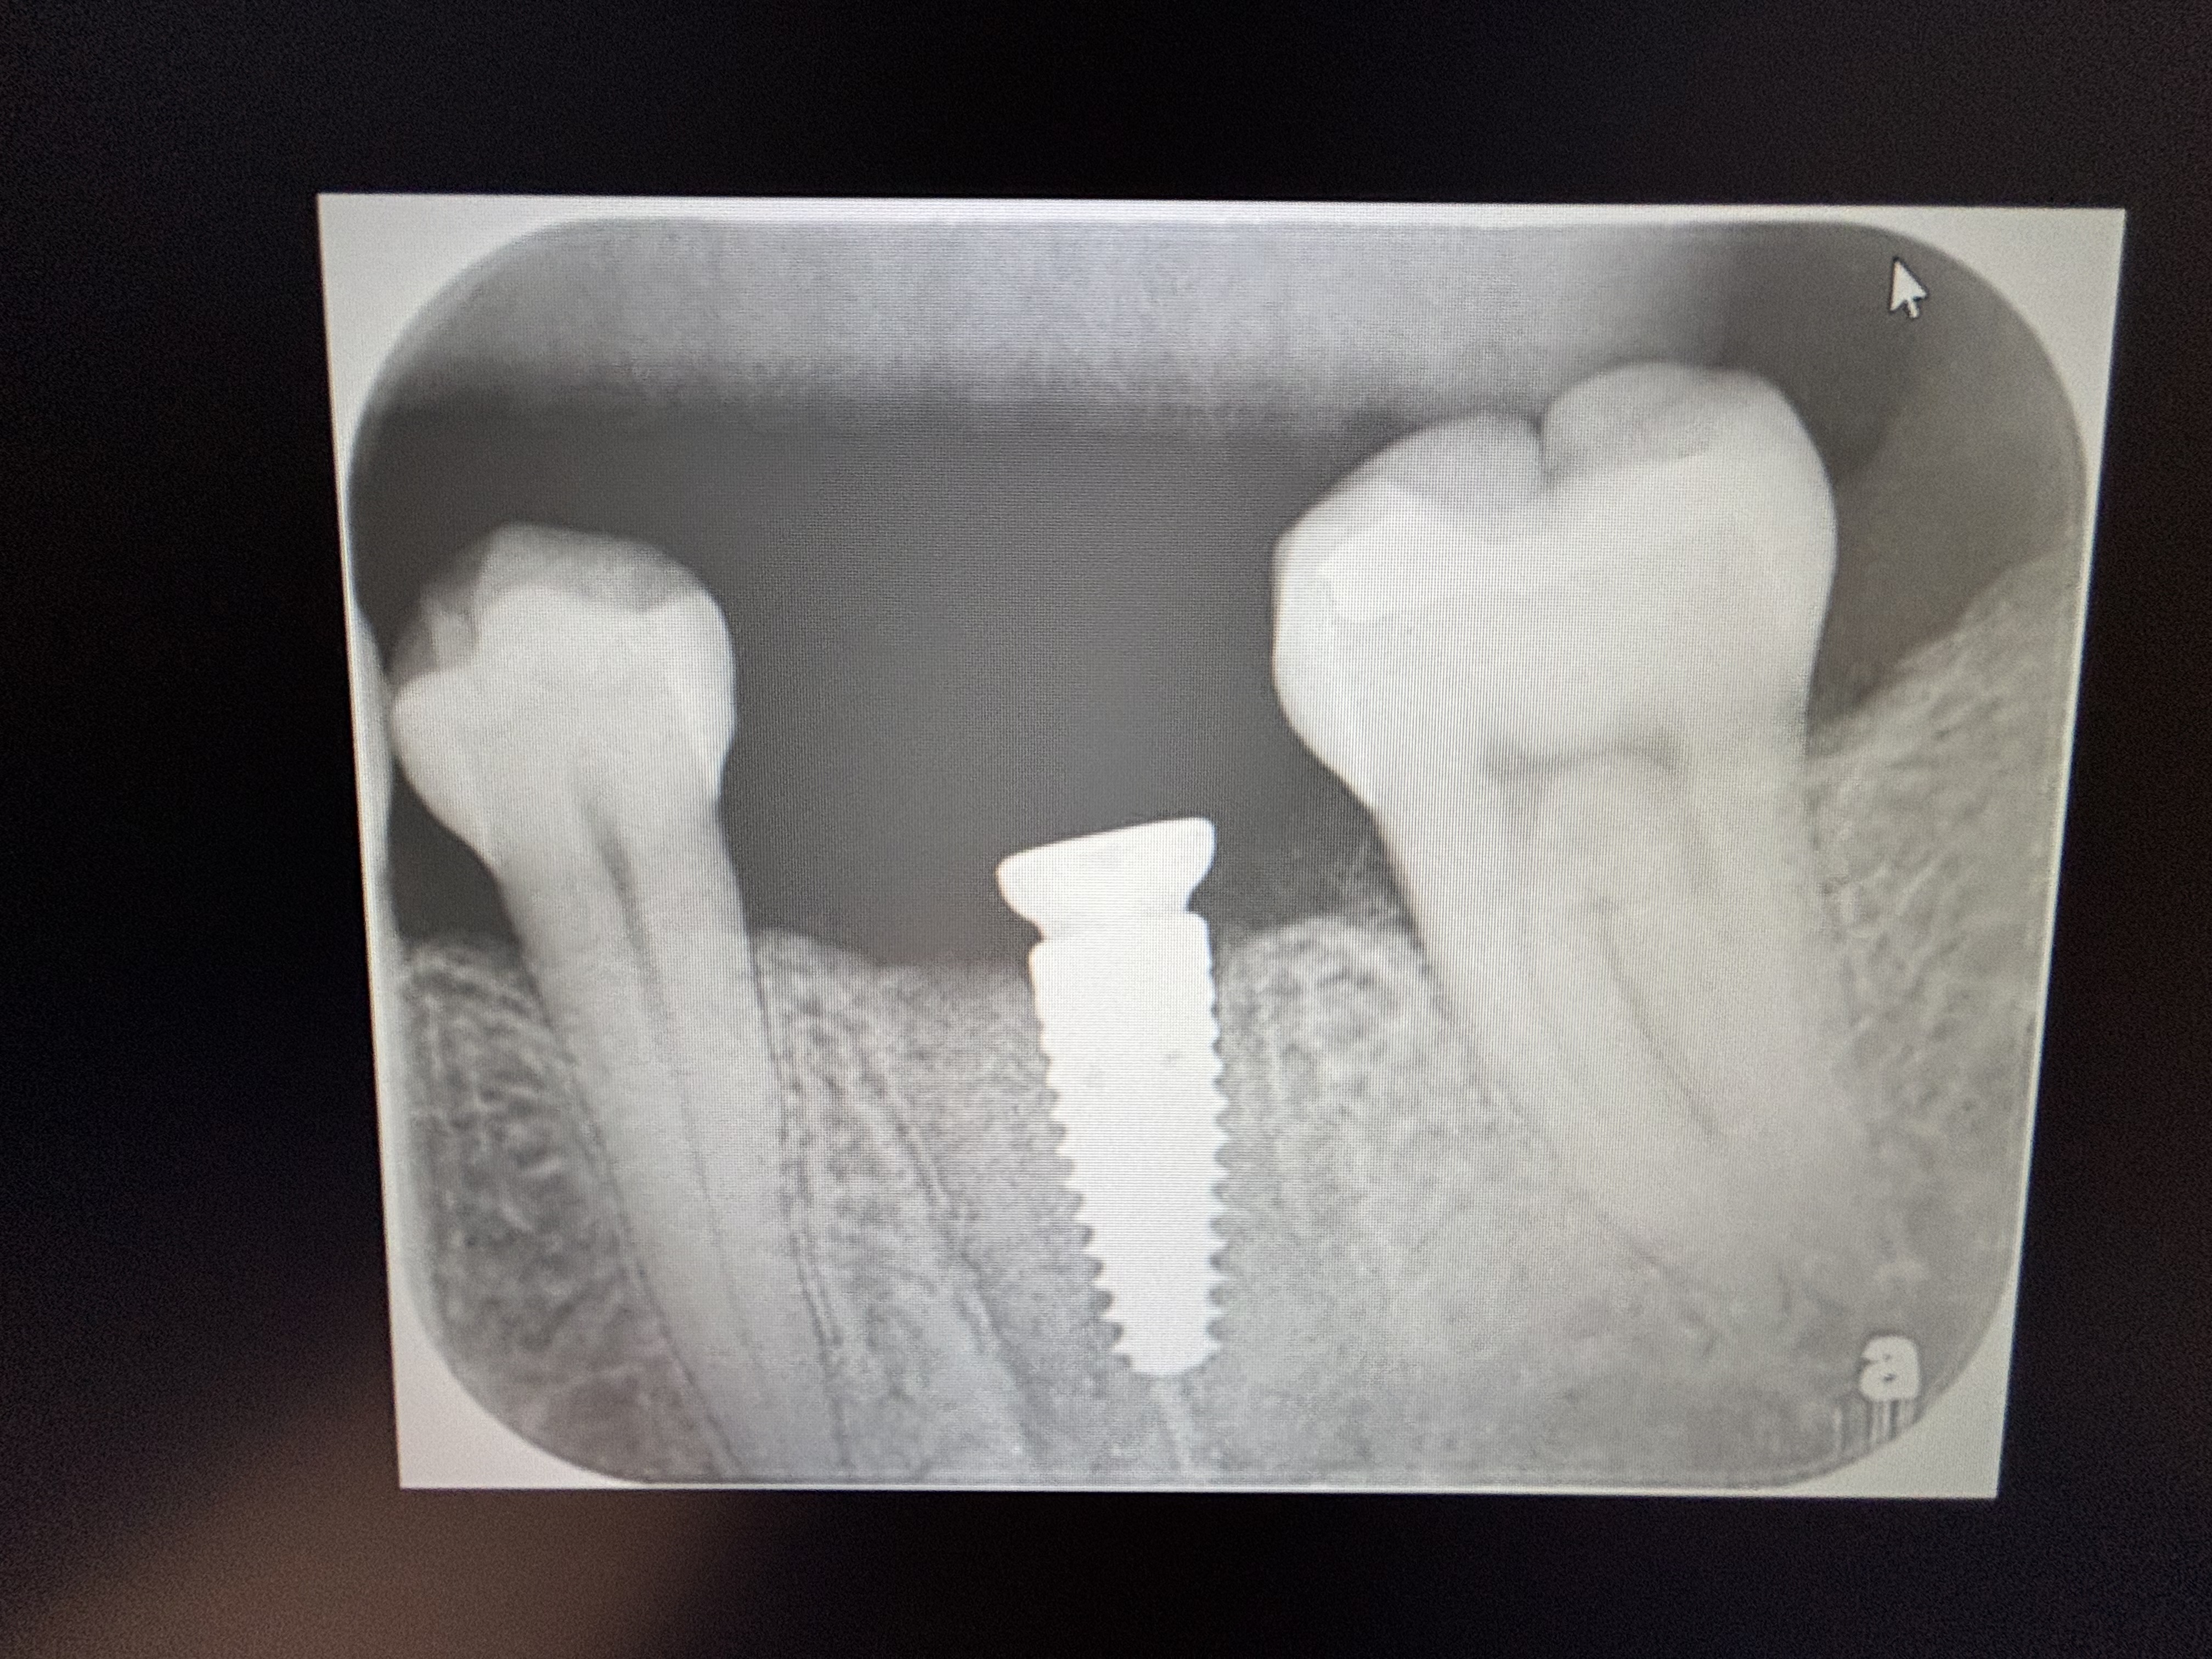
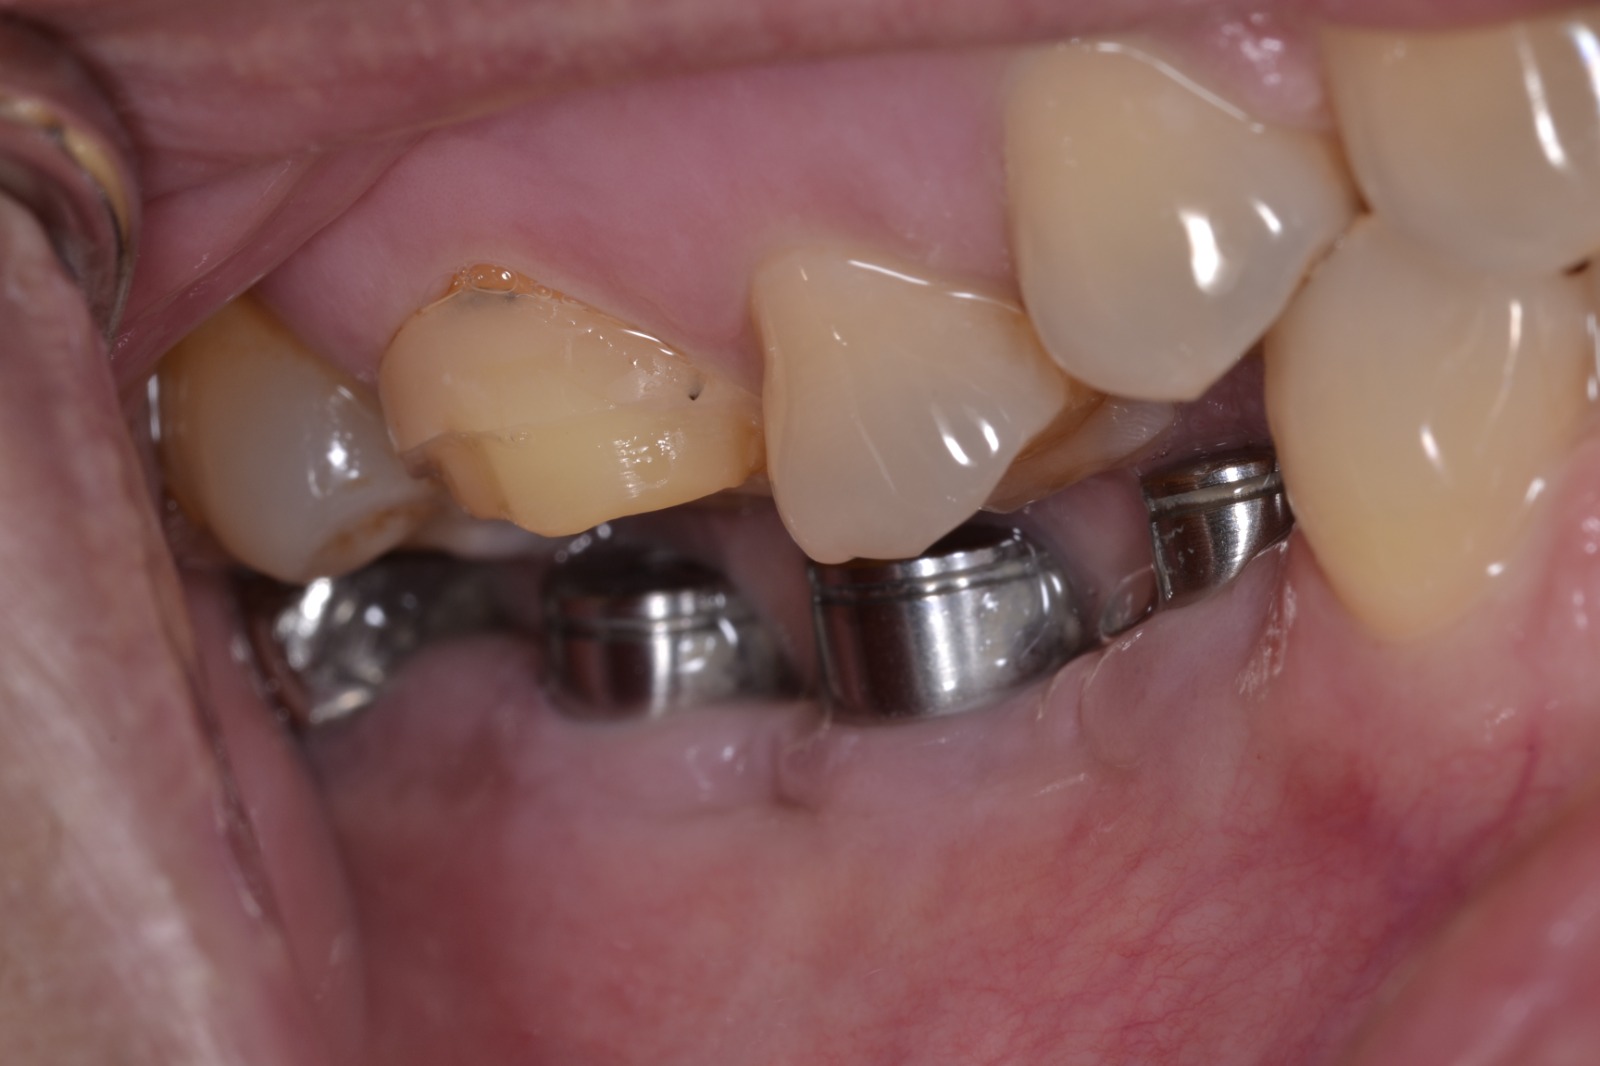
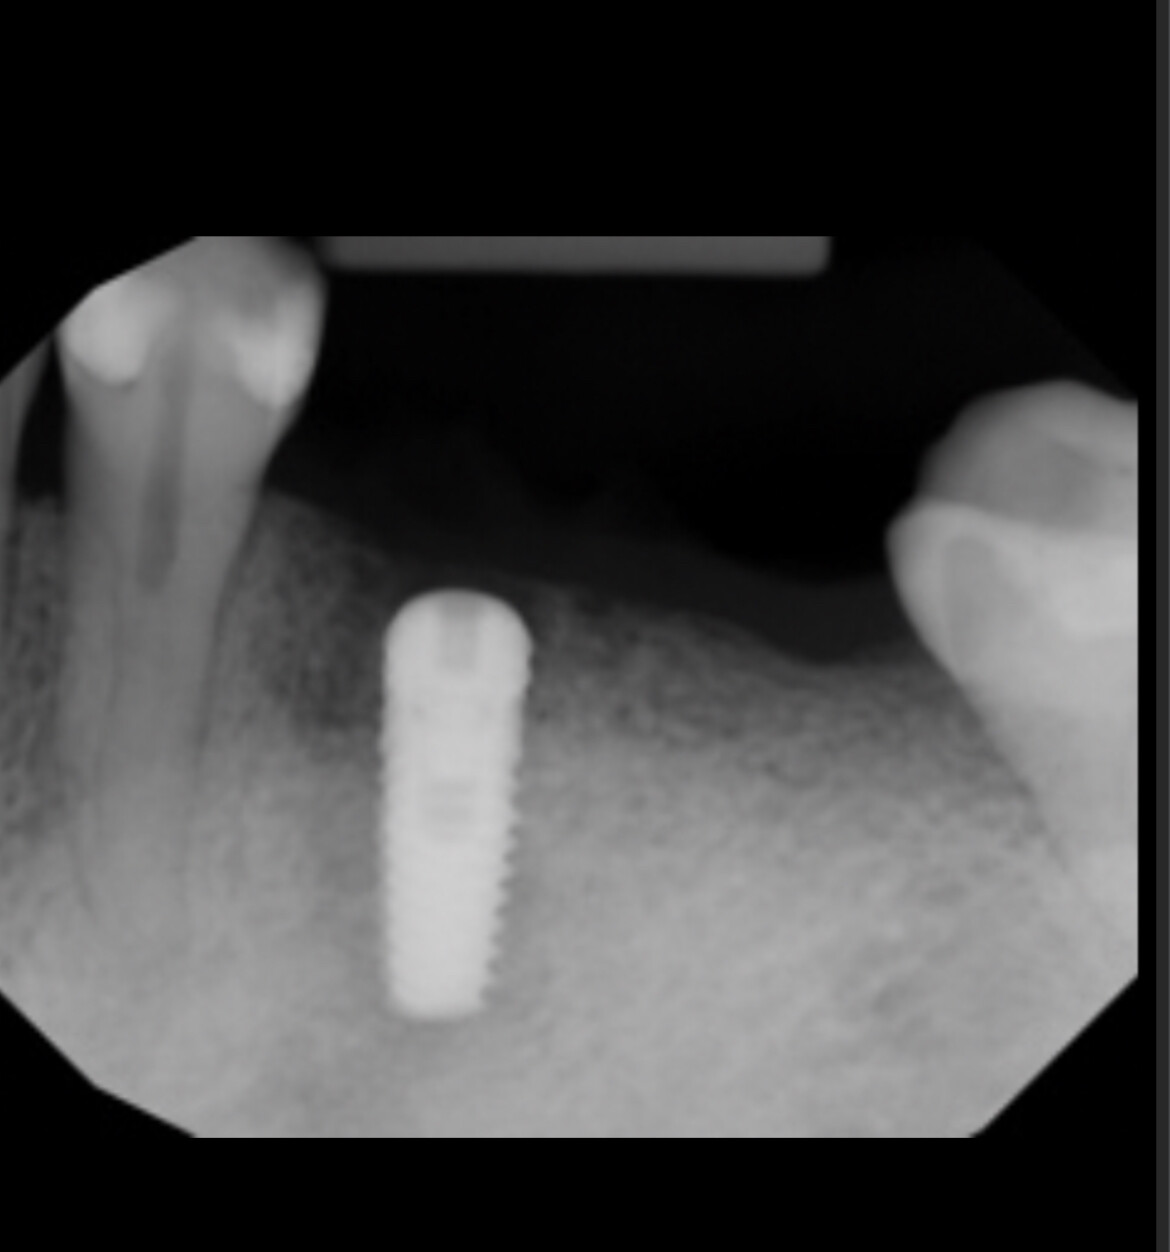
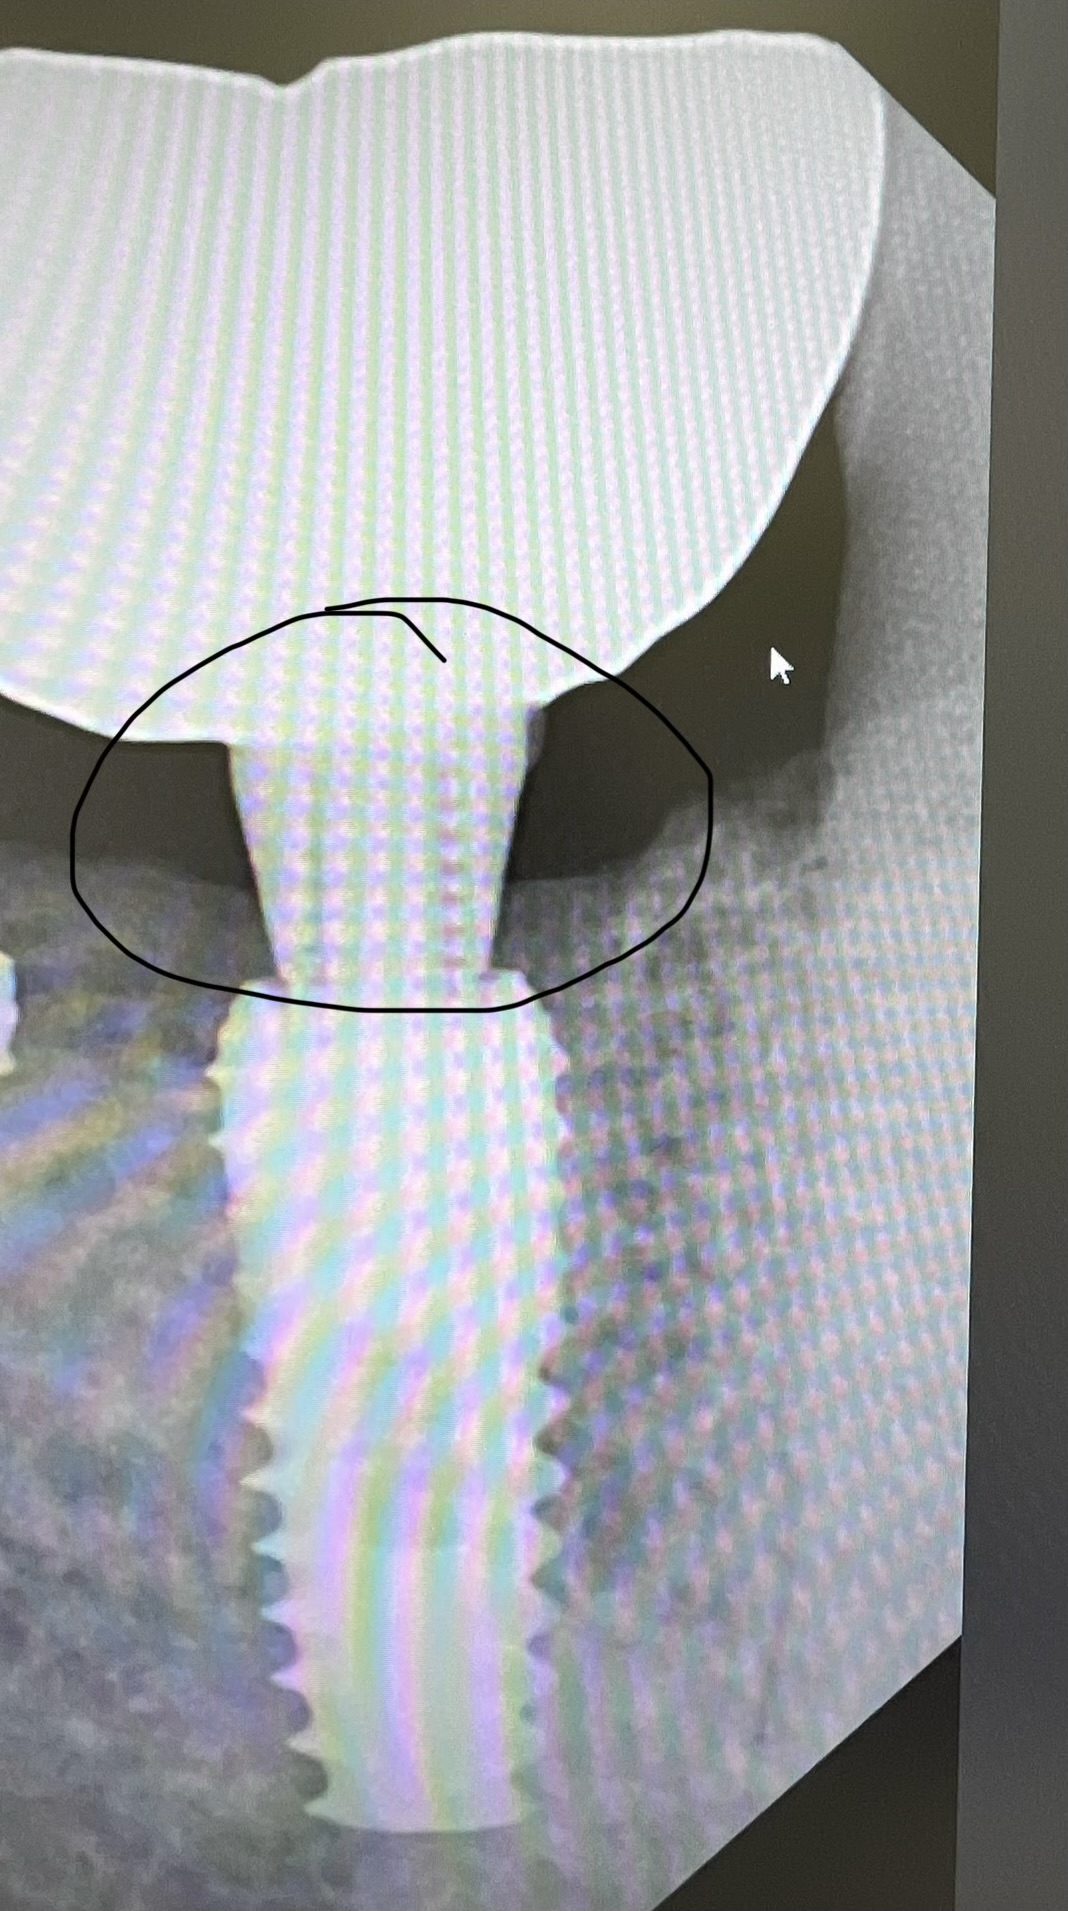
I inherited an implant case where standard abutments have already been torqued down and prepared for single unit metal ceramic crowns. I have tried to make adequate impressions twice now and have been unsuccessful. I packed cord and used high quality vinyl polysiloxane impression material in a stock tray. I have not been able to capture clear impressions of the margins. I really do not want to remove the abutments and take a new implant level impression and make a second set of abutments. I am reluctant to use a diode laser because I am concerned about injuring the peri-implant tissue. What do you recommend?
12 Comments on Unable to Make Abutment Level Impressions: Recommendations?
New comments are currently closed for this post.
DR. B
9/7/2009
if you cannot handle, please refer
Richard Hughes DDS, FAAID
9/8/2009
What seems to be the problem?
Tammie
9/8/2009
Have you called your lab? A quality lab that is experienced in implant restorations will have more useful tips than most clinicians. Think about it... their livlihood depends on good impressions and they see the results of all the techniques.
charles Schlesinger, DDS
9/8/2009
Did the patent have restorations on these already? Who prepped them? If the patient has not been restored yet, it is easy:
Remove the abutments and take an implant level impression. Place transgingival healing abutments on the implants and send the original abutments to the lab with the case. Then you do not have have new abutments fabricated.
If esthetics are an issue, make an Essix appliance or a low cost flipper for the interim.
Joseph LoPinto DDS
9/8/2009
Are you sure that your level of experience is up to this case? All the hard work has been done! Make a custom tray, trough the abutments with your laser. and go from there. I really don't see a problem! JL
Alejandro Berg
9/8/2009
If you can see the margins after placing the cord, there is a chance, you can use the old ripol technique. You can make individual cuffs (I MAKE THEM WITH PATTERN RESIN GC)by aplying the resin incrementally (do as much as possible in the model you allready have)untill you get a good margin. Add some good retentions in the exterior, then place silicone adhesive all over it and on the inside and place some light pvs material in them and put them in position and then do a wash imppression with light and putty pvs. this will get you great margins and a good working model.
cheers
Gerald Rudick
9/8/2009
I do not believe in using retraction cords ever, for natural teeth or implant abutments. When placing retraction cords, force must be applied to the cords to seat them firmly in the sulcus which both physically and chemically creates damage and detachment of the ligament ( in natural teeth) or the pseudo attachment in the case of implants, causing gingival recession.
In implant prosthetic dentistry, it is very simple....with a pencil or other marker, scribe a line around the abutment at the level of the emergence from the soft tissue. Remove the abutment, check to see where the marking line is; and if the line is 2-3 mm above the buttress end of the abutment, then the subgingival margin can easily be developed when placing the abutment on to a lab analog picked up in an impression. Be sure to coat the abutment with a plastic resin to position it with other implants as a soldering index, or to pick up the exact position in relation to the adjacent natural teeth.
If this method is not interesting; and the case will be done in the cementable-crown-on-to-abutment mode.... prepare the abutment directly in the mouth as you would prepare a natural tooth...in this case, make sure the lines and grooves placed by the manufacturer are removed, so that there are no undercuts.
Select a suitable size copper band, hold it with college plyers and place in an open flame until it is cherry red, and then quench in a small vial or jar of rubbing alcohol. The band is now annealed dead soft with no spring and sterilized.
Fit the band so that it slips neatly around the abutment and does not entrap any soft tissue...and it will temporarily detach the pseudo ligament as it is pressed subgingivally.... there might be a little bleeding, but it will heal quickly and reattach where it previously was and generally not cause gingival recession.
Cut two small holes across from each other on the upper side of the band,( Buccal - lingual)with a 1'4 high speed round bur, and slip a paperclip through it....cut a length of the paper clip, bend, and you have made a handle for easy removal.
Place the copper band over the abutment, going below the gingival level and pencil the band along the gingiva so that you can see how far below the tissue you are. The band is then trimmed with a crown and bridge scissors, and the roughness is polished off. Be sure that the subgingival level is even on all surfaces.If your pencil marks are not clear, it it wise to polish the surface of the band with a small slow speed white stone.....used for polishing composites.
Grease the abutment ( or portion of the implant that may also be exposed and that you want to cover with the crown),generously with vaseline..... place the copperband on a pad, paperclip side down, and drip thermorplastic compound ( MOYCO) into the copperband.
Grease you gloved fingers, pick up and apply the band pressing it into place to the level of where your pencil mark is.
Have your dental assistant immediatly spray cold water ( and simultaneuos suction) on the hot band to cool it immedately so you can let go, and allow your sensitive index finger to calm down.With an explorer, chip off any flash compound that oozed out around the band and lift the band off with the paperclip handle.
As you are going subgingival with the knife edged copper band, you are only going to leave that knife in a for a split second, not for 5-10 minutes as would be with gingival cords with adrenalin that shrink the tissues. The band is a quick cut, no adrenalin, and the gingiva usually reattaches very quickly.
If you are wary of using compound to pick up the details, then a slight amount of putty consistency compound can be pressed to place from the paper clip end while the band has been positioned...... cool with cold water, and this time the putty acts as a stop.... not allowing the band to go further subgingivally.
Small holes can be drilled into the walls of the copper band with a tiny high speed round bur, adhesive applied and allowed to dry....and then polyvinyl siloxine impression material ( medium or heavy body)can be used to pick up the detail.No grease is necessary with the impression material.
Gerald Rudick Assoc Fellow AAID,Fellow& Diplomate ICOI
David Levitt
9/9/2009
Diode laser works every time. Shrinkage has not been a problem. Just trough as needed.
Vijai
9/9/2009
If the margin of the abutment is well defined and uniform a usual putty and light body or heavy body impression material in a custom tray should do the job.
dutchy
9/9/2009
I would put a line on the buccal aspect of the abutments. Detorque them and make an impression on implantlevel. Then send the marked abutments with your impression to your lab and they will do the rest for you.
Dr. MP
2/24/2010
Does anyone have any recommendation for type of material and brand for open tray implant level impression for multiple implants????
Asher Gelman
9/5/2011
Apply GC resin handles directly to the abutments as retentive elements. Replace the abutment screws with long laboratory screws. Take an open tray impression and pickup the abutments in the impression. Place lab analogs pour soft tissue model and stone model and send to lab for new crowns.
You conserve the current abutment you do not need any impression coping and have an accurate abutment level impression.