SOS: A Standardized Approach to Restoring Broken Implants

This case was submitted by Dr. Vladi Dvoyris.

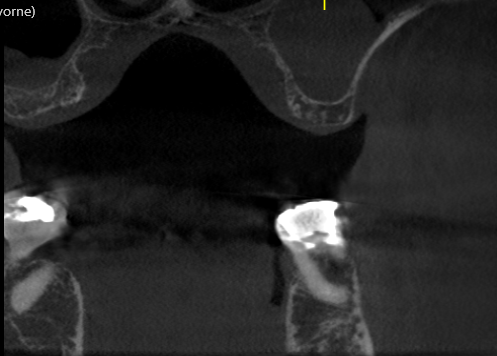
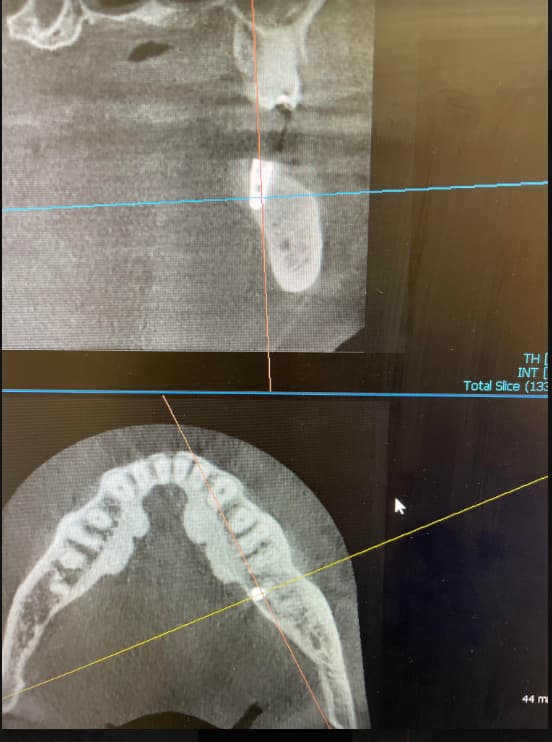
Fracture of dental implants is one of the most severe complications in implant-supported restorations and probably the most under-reported in the literature. Current research discussing dental implant fractures names a multitude of etiologies for this complication, viz. implant manufacturing flaws, metal fatigue, “mechanical overload” (by itself poorly defined), and peri-implant bone resorption. However, disregarding the etiology, implant extraction is the obvious treatment choice in these cases, followed by bone augmentation and, if possible, repeated implant placement, hoping that the new implant’s fate will be better than the old one. These procedures are complicated, time-consuming, costly and annoying for the clinician and the patient alike.

In this case, I will describe a new method for saving fractured implants, creating a new, stable platform and restoring the implant anew with a telescopically retained restoration.

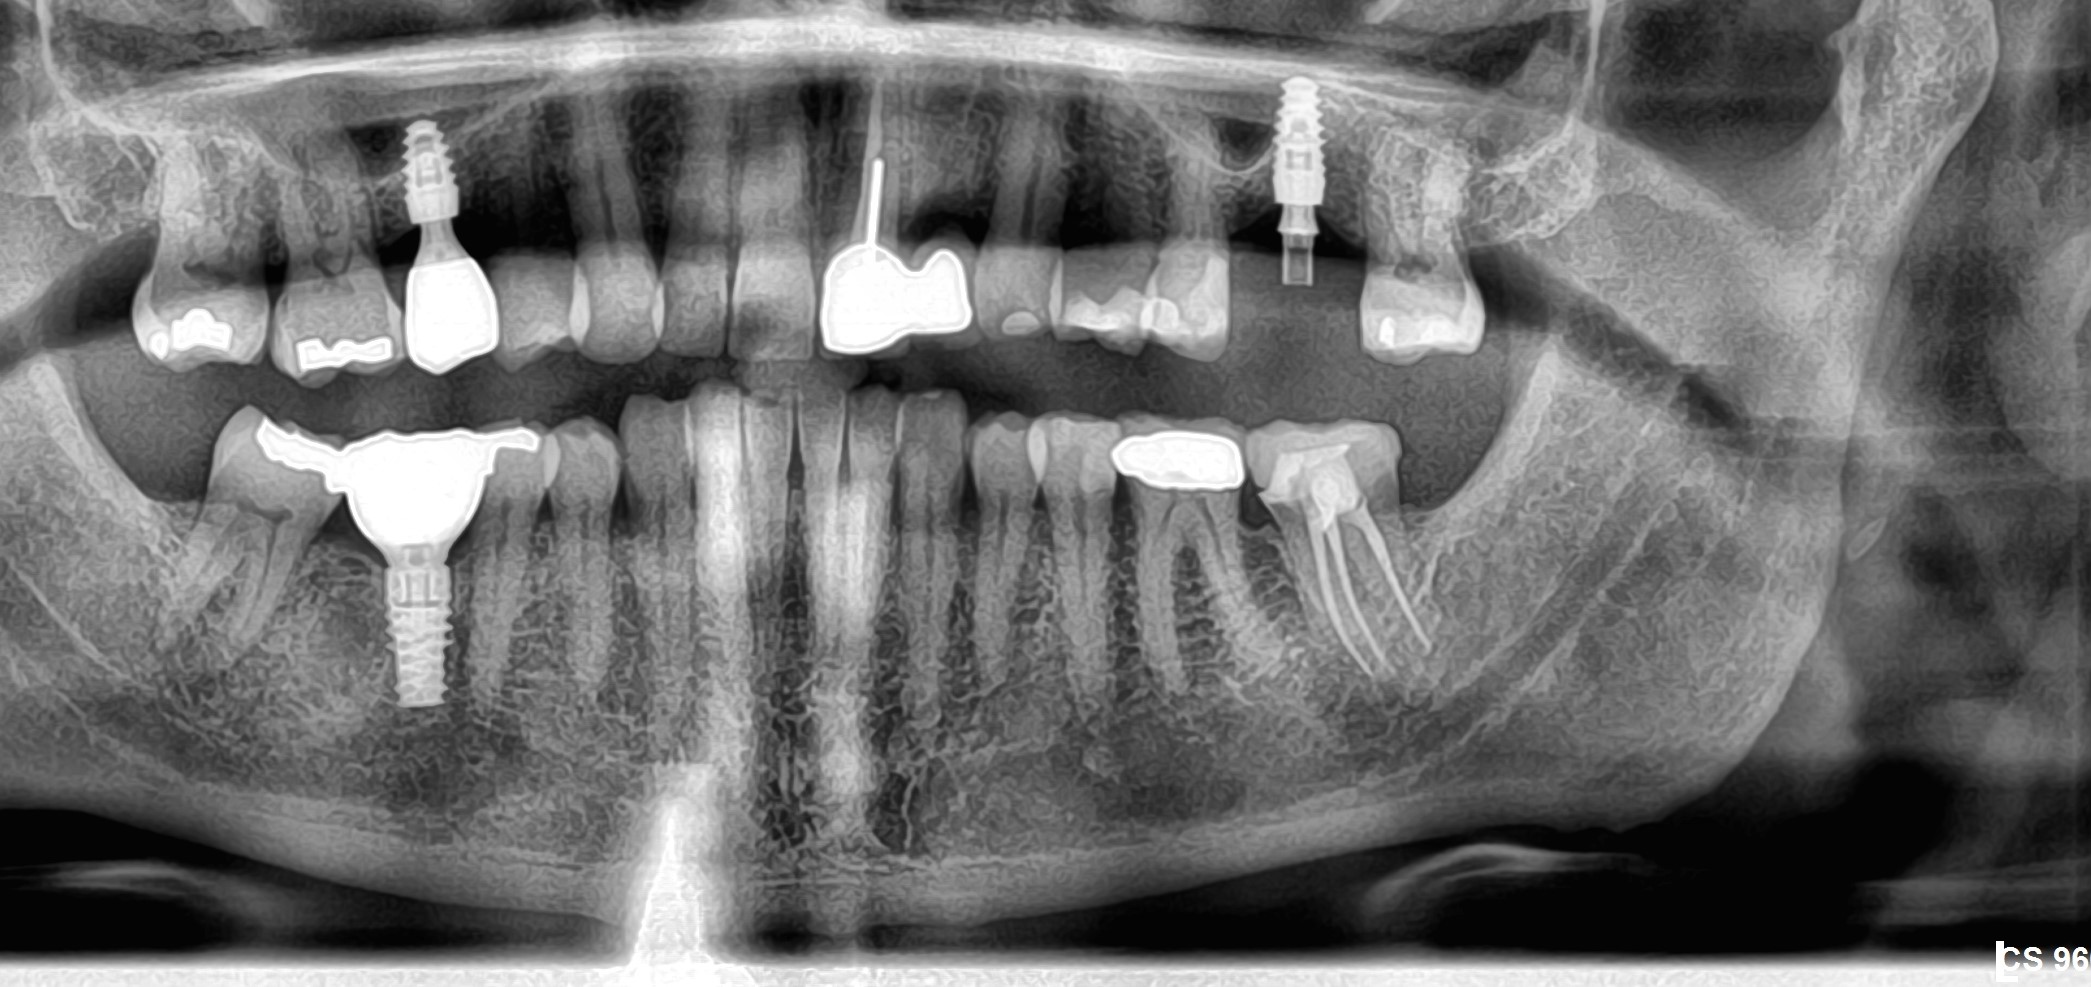
  • Figure 1 – A panoramic X-ray shows four mandibular implants loaded by a Dolder bar applying severe distal leverage, which caused loss of bone support around the implants and, subsequently, the fracture of both distal implants in the hex area.
  • Figure 2 – After removal of the Dolder bar, the fractured hexagons are clearly seen on both distal implants.
  • Figure 3 – The mesial implants were restored with parallel telescopic abutments (ABraCadabra Implants, Israel). The right distal implant is exposed and the fractured hexagon is removed with a diamond bur, leaving a rough surface.
  • Figure 4 – A guide is then screwed in, to guide the polishing burs and center them on the long axis of the implant.
  • Figure 5 – Low-speed carbide burs are used to flatten and polish the implant’s surface.
  • Figure 6 – A double-threaded screw is connected to the implant. A cyanoacrylate glue is used for additional retention of the screw and the restoration.
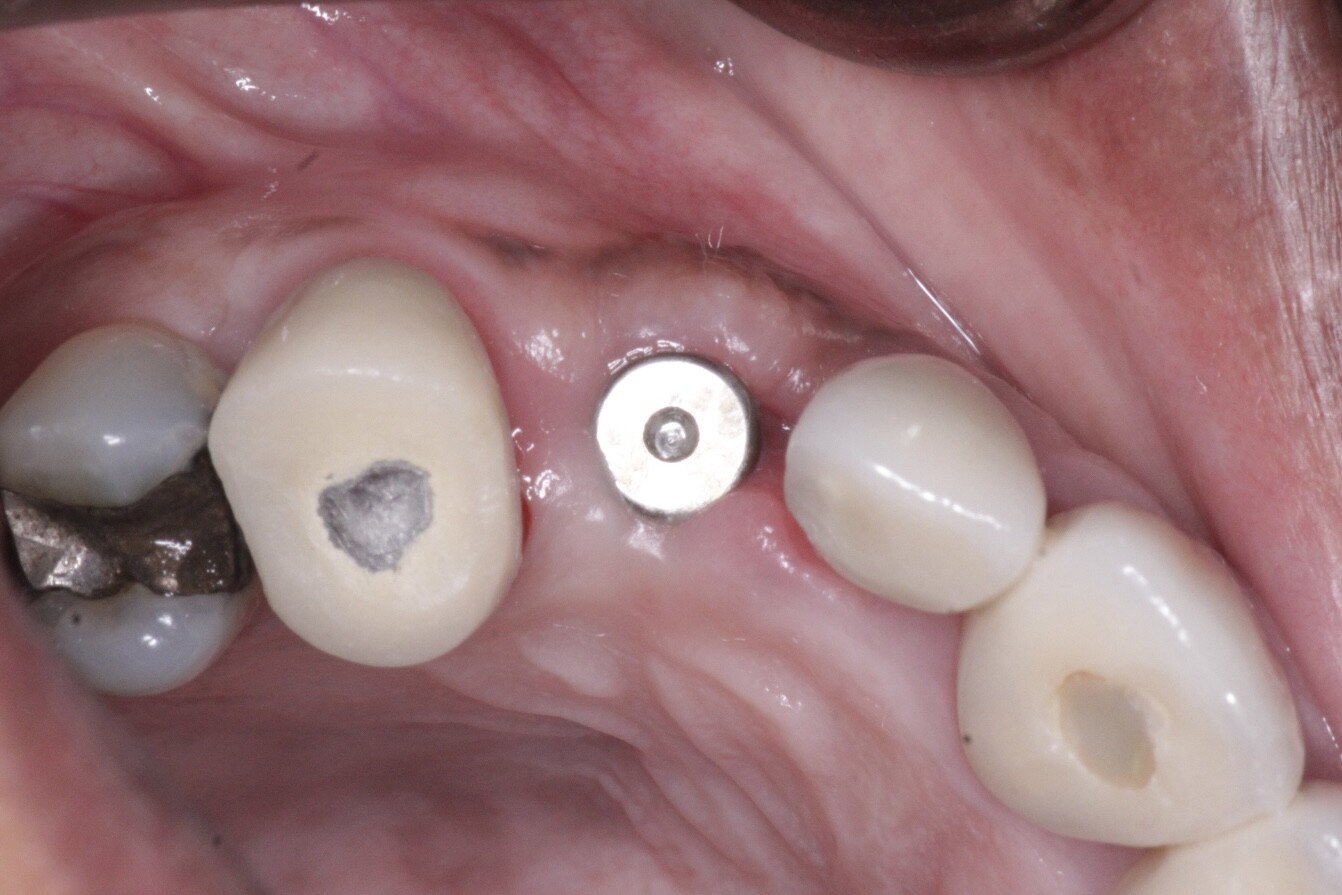
  • Figure 7 – A new hollow tissue-level abutment is connected to the implant, and will be used as a housing for a telescopic retainer.
  • Figure 8 – Subsequently, the left broken implant undergoes a similar treatment.
  • Figure 9 – After both implants were fixed, the gingiva was sutured and telescopic housings were placed within the new tissue-level abutments on the broken implants. Tissue-level abutments were chosen to decrease the cantilever on the newly-repaired implants. (In other cases, regular telescopic abutments would have been used.)
  • Figure 10 – Three months later, the peri-implant tissue is well-healed and the telescopic abutments (on the mesial implants) and housings (on the distal implants) are seen. Note the parallelism between all four abutments.
  • Figure 11 – The tissue surface of the new denture is shown, featuring two telescopic connectors for the distal tissue-level abutments, and two telescopic sleeves for the mesial abutments.
  • Figure 12 – A final panoramic X-ray shows the new abutments well seated upon the implants. The case is closely followed by us, together with other, similar cases of fractured implants repair.


![]](https://osseonews.nyc3.cdn.digitaloceanspaces.com/wp-content/uploads/2019/02/19607-24-figure-1-c5f07264ddfc.jpg)A panoramic X-ray shows four mandibular implants loaded by a Dolder bar applying severe distal leverage, which caused loss of bone support around the implants and, subsequently, the fracture of both distal implants in the hex area.
![]](https://osseonews.nyc3.cdn.digitaloceanspaces.com/wp-content/uploads/2019/02/19607-24-figure-2-c5f07264ddfc-e1549841972206.jpg)After removal of the dolder bar, the fractured hexagons are clearly seen on both distal implants.
![]](https://osseonews.nyc3.cdn.digitaloceanspaces.com/wp-content/uploads/2019/02/19607-24-figure-3-c5f07264ddfc.jpg)The mesial implants were restored with parallel telescopic abutments
![]](https://osseonews.nyc3.cdn.digitaloceanspaces.com/wp-content/uploads/2019/02/19607-24-figure-4-c5f07264ddfc.jpg)A guide is then screwed in, to guide the polishing burs and center them on the long axis of the implant.
![]](https://osseonews.nyc3.cdn.digitaloceanspaces.com/wp-content/uploads/2019/02/19607-24-figure-5-c5f07264ddfc-e1549842097334.jpg)Low-speed carbide burs are used to flatten and polish the implant's surface.
![]](https://osseonews.nyc3.cdn.digitaloceanspaces.com/wp-content/uploads/2019/02/19607-24-figure-6-c5f07264ddfc.jpg)A double-threaded screw is connected to the implant. A cyanoacrylate glue is used for additional retention of the screw and the restoration.
![]](https://osseonews.nyc3.cdn.digitaloceanspaces.com/wp-content/uploads/2019/02/19607-24-figure-7-c5f07264ddfc.jpg)A new hollow tissue-level abutment is connected to the implant, and will be used as a housing for a telescopic retainer.
![]](https://osseonews.nyc3.cdn.digitaloceanspaces.com/wp-content/uploads/2019/02/19607-24-figure-8-c5f07264ddfc.jpg)Subsequently, the left broken implant undergoes a similar treatment.
![]](https://osseonews.nyc3.cdn.digitaloceanspaces.com/wp-content/uploads/2019/02/19607-24-figure-9-c5f07264ddfc-e1549842260156.jpg)After both implants were fixed, the gingiva were sutured and telescopic housings were placed within the new tissue-level abutments on the broken implants.
![]](https://osseonews.nyc3.cdn.digitaloceanspaces.com/wp-content/uploads/2019/02/19607-24-figure-10-c5f07264ddfc-e1549842333759.jpg)Three months later, the periimplant tissue is well-healed and the telescopic abutments (on the mesial implants) and housings (on the distal implants) are seen.
![]](https://osseonews.nyc3.cdn.digitaloceanspaces.com/wp-content/uploads/2019/02/19607-24-figure-11-c5f07264ddfc-e1549842388961.jpg)The tissue surface of the new denture is shown, featuring two telescopic connectors for the distal tissue-level abutments, and two telescopic sleeves for the mesial abutments.
![]](https://osseonews.nyc3.cdn.digitaloceanspaces.com/wp-content/uploads/2019/02/19607-24-figure-12-c5f07264ddfc.jpg)A final panoramic X-ray shows the new abutments well seated upon the implants.

9 Comments on SOS: A Standardized Approach to Restoring Broken Implants

New comments are currently closed for this post.
sb oms
2/11/2019
This is excellent. I've never seen anything like it. My question to you - How do you stop this from happening again? You've fixed it, and done the patient a great service, but the weak point still exists. What are you going to change so that it doesn't happen again? This patient has zero proprioception, and obviously enjoys the wonderful chewing ability that you have provided. Here are a few things that I've learned- 1. Distal cantilevers against full arch implant supported fixed restorations (like in this patient) are exactly what they look like - snap, crackle, pop. 2. This patient probably bites with enough force to chew through rawhide. 3. Botox two to three times a year to the masseters and temporalis is an extremely safe and effective way to protect your dentistry. Your patient won't even notice the difference, and you will have effectively reduced the bite force by at least 50%. The ridge width and height behind the broken implants looks adequate for another implant. (haven't seen a scan, but from clinical photos and x-rays looks possible) Get first molar implants and convert to fixed?
Vladi Dvoyris
2/11/2019
Excellent comments, and thank you for them. In placing a telescopic restoration instead of a dolder bar, two things were achieved: The first, an improved distribution of occlusal forces, and improved passivity - reducing the total strain in the system. The second (and most important), reduction of the leverage on the distal implants - which was done through the use of very low, soft-tissue level telescopes. They exhibit better retention than the bar, while the denture is strengthened by a Vitallium mesh. Of course, there's always an option that this solution would eventually fail - but as the alternative is an extraction of the implants, in which the patient wasn't interested, he accepted the proposal for an SOS approach as a last resort.
Dr. Gerald Rudick
2/11/2019
A crow bar is a crow bar.....no matter what the size. This initial lower implant bar was a crow bar, and the forces were highly magnified if there was any movement what so ever. By keeping the two sides separate, and uniting the adjacent implants to each other, the crow bar effect has been eliminated.
Vladi Dvoyris
2/11/2019
I think that using telescopes allows us to eventually keep both sides splinted. However, it is much better to splint the implants with an acrilic denture (albeit strengthened with a metallic mesh) retained by friction, and not with a screw-retained bar that introduces additional strain into the system.
Greg Kammeyer, DDS, MS, D
2/11/2019
I agree with the above comments: Nice that you could save what remained yet the patient is worse off than before the fractures. In my mouth I would want: both implants removed and replaced, preferably with bigger diameter implants at a minimum and or more implants placed that manage the posterior overload, even if they are short and the prosthesis rests on healing abutments. MOST IMPORTANTLY I would want the distal cantilever on the prosthesis (all too often overlooked with overdentures) cut back to greatly decrease the cantilever.
Vladi Dvoyris
2/11/2019
You're right about the cantilever, and maybe in my own mouth, I would not have gotten in this situation in the first place. However, this is what we've got here. The implants functioned well for several years before the fractures happened, and the patient - who is now almost 80 years old - was unwilling to remove and replace the implants. He was also quite used to an overdenture, and if you ask me - it might be a better solution than a fixed bridge, as the patients is able to remove it and clean properly.
Dr Dale Gerke, BDS, BScDe
2/11/2019
An interesting case and the above comments are relevant. I would point out that I am not sure the repairs had anything to do with the apparent peri-implantitis reversal. I have converted fixed bridge situations (eg hybrid implant retained bridge or bar retained over denture) where the ability of the patient to properly maintain the implants was difficult or impossible (ie even our hygienists could not clean the implants). I converted to locator (or ball) retained dentures (predominantly tissue borne). This allowed the patients to easily clean their implants (only needing a toothbrush) and in all cases the implantitis resolved and the situation changed from certain implant loss within a few years to most likely lifetime retention of the implants and prosthesis. I inherited these cases from other practitioners who designed the bridges/bars quite a long time ago – prior to the profession in Australia realising the importance of maintaining implants (and thus designing prostheses that enabled this to happen). The beauty in what Dr. Vladi Dvoyris has done is that even if the repairs fail, there is generous flexibility in what can be done later. It maybe that either 3 or 2 implants are enough for retention (the abutments might need to be changed to locators or balls) or other implants can be placed (1 or 2 staged) and the denture modified as required to accommodate these additions.
Vladi Dvoyris
2/11/2019
Thank you Dr. Gerke for your comment. I would say that the inflammation here wasn't peri-implantitis per se, as the patient's hygiene was good and the implants weren't exposed (see Fig. 2). There was some mucositis around the implants, some of it caused, perhaps, by irritation from the fractured hexagons. The distal peri-implant bone loss around the broken implants was, I presume, mechanical and not infectious by origin. And you are right by saying that this case is highly flexible, and even if some of these implants would fail one day - there's a lot that can be done with the remaining ones. And I've also heard from the patient that his hygiene has improved after we removed the bar, and it's easier for him now.
Dr phulphagar S S
2/11/2019
Yes always avoid long cantilevers ! This repair work is a novel idea but must be operator sensitive . Would also recommend increasing the no of posterior implants to prevent further complications ?

Featured Products

OsteoGen Bone Grafting Plug
Combines bone graft with a collagen plug to yield the easiest and most affordable way to clinically deliver bone graft for socket preservation.
CevOss Bovine Bone Graft
Make the switch to a better xenograft! High volume of interconnected pores promotes new bone. Substantially equivalent to BioOss and NuOss.