Trouble with Parallel Dental Implants
Dr. K. from New York asks:
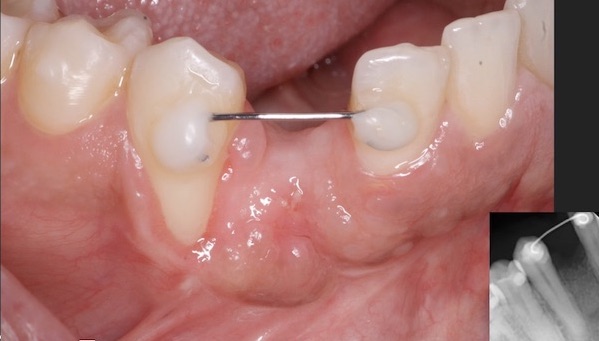
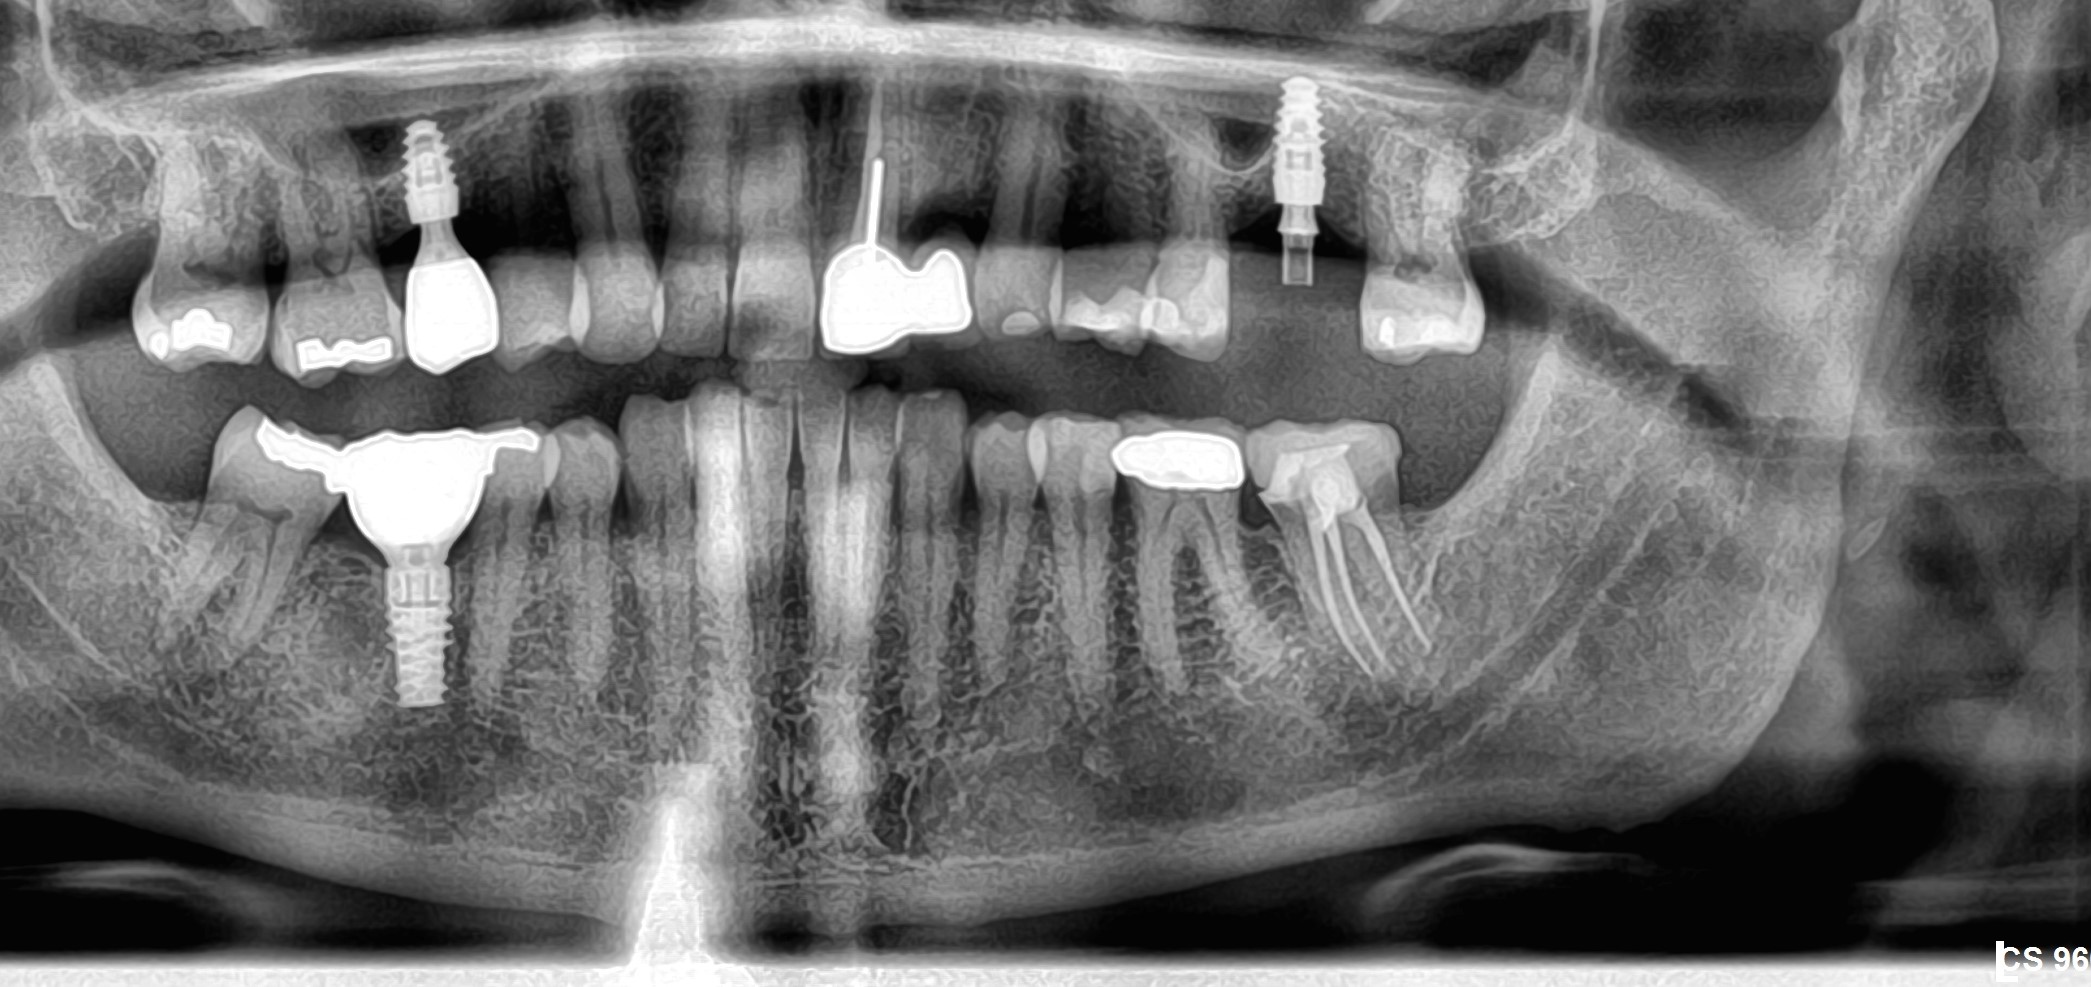
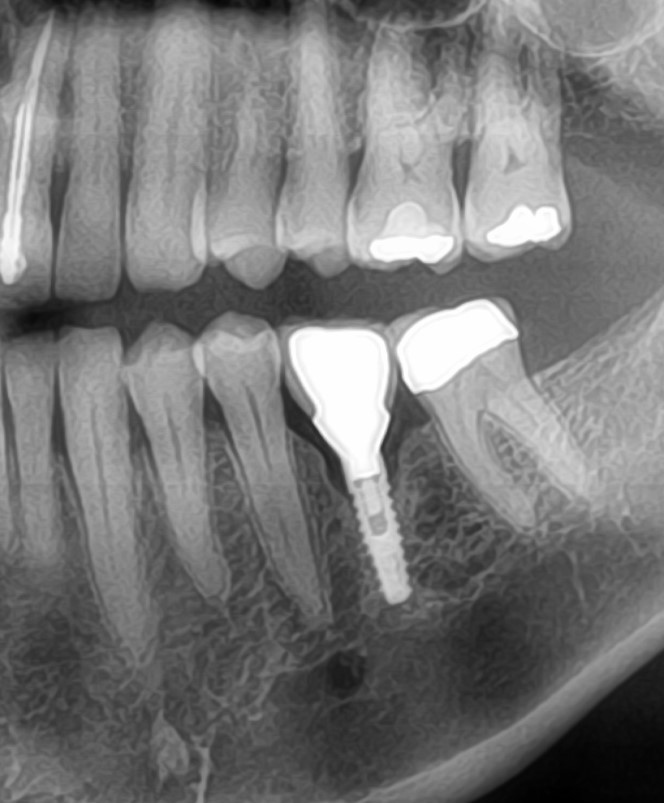
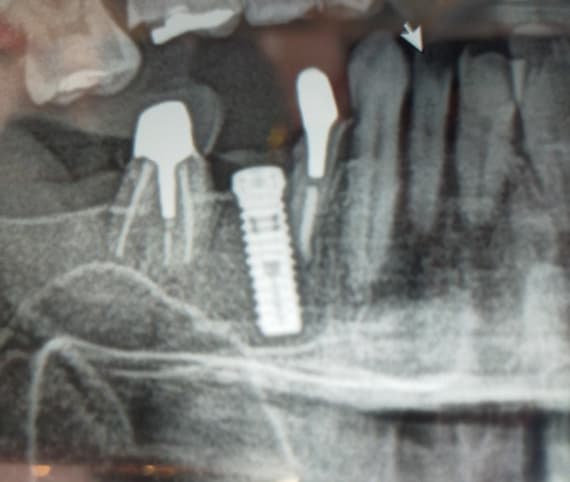
I have trouble placing dental implants parallel to one another. After I drill with the 2.0 pilot drill, I place the guide pins and take a radiograph. The pins always look parallel in the mouth, but they often look as though they are converging on the x-ray! This is especially a problem for me in the posterior mandible. What am I doing wrong and can I really “re-direct” the drills after placing the initial pilot hole? I often take a panoramic film after the dental implants are placed.
22 Comments on Trouble with Parallel Dental Implants
New comments are currently closed for this post.
anon
4/10/2007
The point of progressive osteotomies are two fold. Not to overheat bone and so changes can be made. Simply alter the angle of the next drill sizes should the pilot be off with initial penetration. You could also use better guide with "guide tubes" or go with CT generated guides for ultimate control.
Anon
4/10/2007
Abrahami drill guide has really helped me a lot with this problem.
Alejandro Berg
4/10/2007
I agree with both, depending on the case I use the ABrhamani guide or a surgical guide with 2.0 tubes.
Luck
Dr. S
4/10/2007
Implants should not be exactly parallel in the posterior mandible. THey should converge slightly coronally - think curve of spee and the shape of the mandible - it's not flat!!! THis is not my opinion but from a recent lecture at the Acad of Osseo. Perfect parallelism can prevent you from getting into the uniquely best position for any one implant. Teelth are not perfectly parallel!! review your anatomy!!!
Joseph W. Como OMS
4/10/2007
I find it very useful to have a lab fabricate a clear acryclic surgical stent with 2mm diameter metal tubes in the position I would like the ostomities to be in. I then test the stent visually by keeping it on the model and placing the back of the wood stick from a cotton swab into the tubes to check to see if they are truly parallel. Remember there is a reason it is called a guide stent, in some cases, if the lab stent is not parallel, you may want to consider using a surveyor ( yes those contraptions we used in dental school ) The surveyor has a metal rod attachment which you can be almost certain it will be parallel . The metal tubes are easy to remove and can be sticky waxed into the correct position on the stent. I prefer to use a 1.8mm trispade drill as the pilot down to atleast 8mm. ,then the 2.0mm . The Abrahami parallel kit is an excellent adjunct to this during placement of multiple fixtures. The same company ( M.I.S) also sells a fixed drill guide with depth stops, and the pilot bur is also 2mm. ( My only reservation about this is the bur is long and difficult in the posterior region, so I do prefer the stent, then the abrahami kit, sometimes the drill stop. ) Lastly, there are times when upon placing a fixture, no matter how straight ,tight with the exception of a drill press the implant will not go in parallel. This is due to the bone density, and is a very difficult task. The drill will actually skip or torque upon drilling ( while in the osteotomy site) This I have yet to conquer. I strongly feel that implant companies and there advertisements of perfect implant placement is just that, good advertising. We as a profession need to show that the average patient wanting an implant does not want to touch bone on their chin, or other parts of their body to get adequate room for an implant.We work on a part of the body used more than any other part, with doctors sharing their sucess and failures with each other we as a profession will perfect this . I hope this was helpful , thank you.
CatScann
4/10/2007
Parallelism is not something to avoid. The focus should be on axial loading and reducing the angle of the abutment. also, don't try and place implants in the same direction as the roots.
My personal advice on your problem is try not to use the teeth as a fulcrum as this usually leads to angled implants...especially posterior implants. Use a different grip on the handpiece than the one you would use for a crown prep.
Don't use the next drill to correct your angulation. Remember these are end-cutting burs. Use a side cutting bur to reposition prior to moving on to the next size drill.
Hope that helped.
serge goldmann
4/11/2007
I don't know why so much poeple are troubled by a mis-parallelism: perhaps does it look nice on the radiograph, surely it helps for the prosthetic reconstruction, but it does not seem to me such a big issue... of course I wouldn't recommend 90 degrees but I'm not in trouble with a small divergence at all (that will be dealed at the prosth with the convergence of the abutments!)... With a little training, it seems to me te be like preparing a bridge: you should only try to developpe a 3d view of the mouth,to check the opposite arch, to watch on the facial axis, nose etc.. imagine the bur is like the axis of the future tooth: I'm sure you know where you want to create it! good luck
MikeP
4/15/2007
When multiple implants are placed they should not be exactly parallel to each other. If they are, then there is one axis around the implants and a single point of rotation. This means greater stress on the implant at one point, which can lead to failure. It is often recommended to place multiple implants with a slight difference in angulation to create multiple points of rotation around the implants when in occlusal and off axis loading.
anton j voitik mdt
4/17/2007
Thank you Dr. Como. To add from a lab’s point of view: High quality, well extended initial impressions (IVOCLAR System 1 or 2 works well) and other pertinent patient data (shade, before photos, special patient concerns) allow us to produce a diagnostic set-up (full or partially edentulous) that leads effortlessly to the clear guide you describe. Technically speaking, I have found this guide very useful for both, as indicator of the final restoration volume with or without ideal implant long axis tubes, and less so, but very helpful when used in this 2nd manner, as intra operationem pick up device, as a quasi custom tray, for the surgical specialist. When combined with the use of closed tray impression posts placed on to each implant after completion of surgery and loaded with an appropriate impression material in each opening ground to fit over the impression posts, a quality record can be generated for restorative practice and lab involved. At times this reduces the restorative appointment sequence to where the second restorative appointment after surgery is the final delivery! Even on very involved, large rehabilitations.
Anton J. Voitik MDT
David Mulherin
4/18/2007
An important tool to add to any manufacturer set are Lindemann burs. These are aggressive side cutting burs available from Salvin or Ace (and others) and I use them all the time to correct initial angulation problems or to move an osteotomy closer or farther away from a tooth or implant.
Dr. NLT. from DK
5/6/2007
Dear Dr. K. from New York
Perfect parallelism is seldom achievable.
You should however try to achive paralleism - small divergences are fine! When placing more than one fixture the tripod configuration is preferably. Remember axial load, check the facio-oral angulation and always try to achieve an acceptable crown-fixture-ratio -preferably a longer fixture than the suprastructure. When possibly I always place the fixture bicortically.
I like to use a acryclic surgical guidestent with (placing multiple implants) or without metallic tubes (single implants). Preoperative I always fabricate a diagnostic wax up. From this the surgical guidestent is made.
Operative you could draw lines with a surgical marker on the facial bone and use these as a guide for direction. I also use a surgical marker to mark out the safe distance to the mental foramen.
For redirection please NEVER use the next drill to correct your angulation. I use the 2.0mm pilot drill. And I check angulation with x-ray.
Good Luck!
Dr.lapa
5/11/2007
This post brings us to the eternal question,do I try and force parallelism,or do i put my implants where the bone is.
dr serban marius
5/22/2007
hello
if you want make a corect osteotomy for many implant ,after the pilot drill i notes the second implant position ,i go in the first osteothomy and quicly in this position make the new osteothomy for the second implant.I put inside the first place the pin guide and the second pin guide check the oclusion if it is possible ,and go on!if the new position is wrong you can corect with the second drill.
best regards dr serban
anon
6/27/2007
Use the force young jedi implant warrior
Robert J. Miller
6/27/2007
Second, the reason your osteotomies end up not being parallel is the "bias of the arc of the hand". We tend to drill using our wrists. When you flex your wrist holding the implant drill, the axis is NOT a straight line but rather a curve. You must use a different path when completing your osteotomy to continue the axis chosen with your guide pin. We have proven this using surgical navigation units. It is very difficult at first but you will train yourself to use this technique.
Akintade Dare, DDS, Ph.D.
6/28/2007
I will like to respond to Dr. K's (New York)article on "Trouble with parallel dental implants". He requested for help, saying: "I have trouble placing dental implants parallel to one another." Reading through about 15 responses to this article, it is surprising that no one even mentioned about the need for pre-operative imaging also known as the image guided implant surgery.
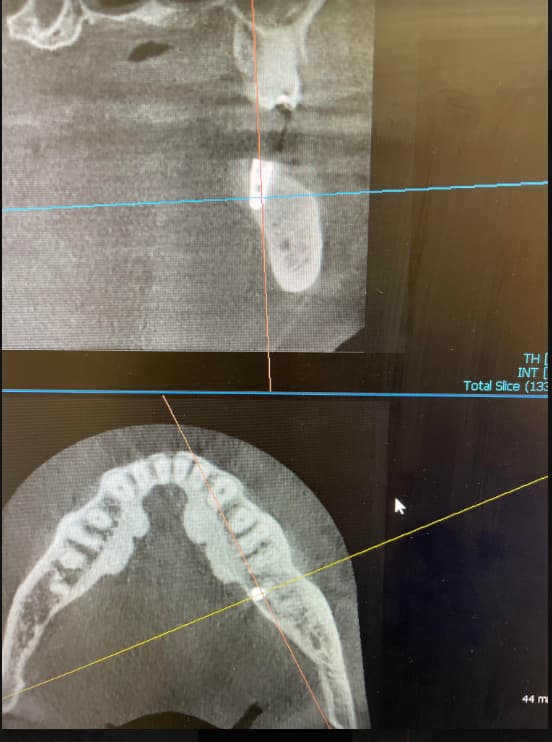
Essentially, a 3D-CT scan of the jaw is obtained, either using a conventional CT scan followed by multiplanar reconstruction (MPR) to obtain a 3D image or cone beam CT. This is then followed by computer-aided pre-operative implant placement using software like SimPlant, among others. It is at this point that the Parellelism of the implants can be addressed.
Further, Dr. K mentioned proudly using Panoramic X-ray to check the parallelism and probably used same as guide to obtain parallelism. Contrastingly, abundant literature showed the limitations of panoramic radiography (Dare et al., 1994) and intraoral peri-apical radiography in imaging the implant sites. While it has been argued before by colleagues that naturally resist change, it is obvious that the inevitable change to 3D CT and computer aided pre-operative implant planning is wise.
As I have said before in this forum, "Knowledge is Power". While 3D Ct with computer aided surgery may not be "The Standard of Care: for Dental Implant currently, it is inevitable and unacceptable to place implants in some cases without it.
Akintade Dare, DDS, PHD. Chief Executive Officer
DenterScan Diagnostic Radiologic Services, Inc.
Dr. Mehdi Jafari
6/29/2007
The surgical stent or a guiding template can be made from the patient’s own denture that can be used to guide the drill accurately to the correct location of the dental implant , and help to achieve the treatment planning to determine the ideal placement of the future prostheses. If the patient is wearing a partial denture, it will be considered to act as an ideal surgical template, as it consists of tooth size, position, contour, and the patient’s habitual occlusion, and the form of the alveolar process as well. To make surgical template out of the partial denture, an impression is made while the partial denture is attached in the mouth, thus making a replica of the jaw-partial denture situation. Three necessary references can be used: the center point of the tooth, the tooth axis, and the crest of the alveolar process. With the partial denture fixed in the gypsum cast, the denture is drilled through until a hole of 4 mm in diameter has been reached. The drilling process is performed starting from the occlusal surface in the center of the tooth downward in the direction of the top of the alveolar process parallel to the tooth axis, which is supposed to be the surgical point. Then, a stainless steel tube drill guide with a 4-mm outer diameter and 2-step inner diameters of 2.4 mm and 2.2 mm is inserted and secured with self-cured acrylic . Next, each implant site is drilled using a sharp tapered tip twist drill of 2 mm diameter by inserting the drill through the drill guide directly into the surgical points and drilling to suitable depth. The implant direction indicator, which is available in every implant instrument system, is used to check the direction and parallelism after the 2-mm bone holes have been dug. In order to proceed, you can continue to drill the holes to the desired depth and diameter.
satish joshi
6/29/2007
As you prepare osteotomy in posterior region patient's mouth opening, presence of adjacent teeth (particularly over erupted),use of drill extender,lack of proper vesion does influence parallelism.Just try to do best.
satish joshi
6/29/2007
If you can do ideal crown prep with 6 degree taper on third molars, you should not have any problem in parallelism of posterior implants.
Ct scan and surgical stents will of limited help unless you have enough mouth opening and working space.
MM
7/18/2007
Look at Salvin Manual 2007 on page 112.
Dr. Bill Woods
7/23/2007
I agree with the comments about small differences Splinting implants that are slightly off axis due to spee may even strengthen the situation as opposed to precisely parallel (Misch). I do have a point to make about using the RPD strictly as the sx guide. maybe the occlusal table ca be used, but using the rpd for the whole axis and tilt? Im not comfortable with that except in the widest and tallest of ridges. One thing I have found useful is if I am extracting for 2 staged a few months later, before I graft, I place a surgical guide pin (or the shaft of a surgical bur)in the site and take an impression of that tilt and angle that best represented ideal tilt and angle, Pour it up in stone and make an initial pilot drill sx guide from that in my lab. Cheap. I just use it to guide the pilot drill later. If you need to steady it while its in the socket, use some flowable composite on the tooth mesial or distal. After the pilot drill, its really useless but you have what you needed to get the osteotomy started just about precisely where the tooth was in the first place. STILL, I have to be aware of where the buccal plate was in the beginning and where I want the occlusal plane to be and make secure the guide pin from those observations as well. Hope this helps. And by the way, thank you Dr. Como for offering your kind advice as a colleague. Bill
dr.med, dr med. dent Ales
11/13/2007
it is very easy to resolve this problem, specially with the one piece-implant i use usually in my practice in italy.
so you put a little madam-mirror (like 5x10 cm ) in the mouth of your patient and you can see perfectly the parallelism or not among the various implants and consequentenly you can correct the discrepans among thees.

