All-on Four Titanium Embedded in Acrylic prosthesis not tacking down?

I would gratefully appreciate some direction on this situation. I don’t do a lot of these, so I do not know for sure if this can be remedied easily. Upon delivery of a Nobel Biocare implant case, I was able to seat one or two of the retention screws. However, the other two did not seem to bite and I was not able to torque them. The screws continued to turn without tightening. I had tried a try-in of the bar only and I was able to torque all the screws. I don’t understand what happened.

I have had occasion to remove the prosthesis for some minor soft tissue grafting on the posterior abutments. I found a lot of plaque/food debris around the abutments. Am I correct in thinking that if the cylinders were fitting properly, this would not be found?

I suppose my bar is not completely accurate and what I am wondering, is if it is reasonable to section the prosthesis into 4 segments, screw them into the implants and lute them together with acrylic for welding at the lab. Has any one else performed this procedure and is it feasible?

Thank you ever so much for anyone’s advice in advance. If more information is needed I will respond. And thank you for this forum.

10 Comments on All-on Four Titanium Embedded in Acrylic prosthesis not tacking down?

New comments are currently closed for this post.
Mwjddd
9/21/2018
Check to see if the screws are fully seatin. Sometimes, after the acrylic is processed the screws don't fully go down the chimney. Sometimes the chimney is too narrow and sometimes there's a little acrylic at the screw seat. If you checked the frame fit and it was accurate then its an acrylic problem.
DrAZ
9/21/2018
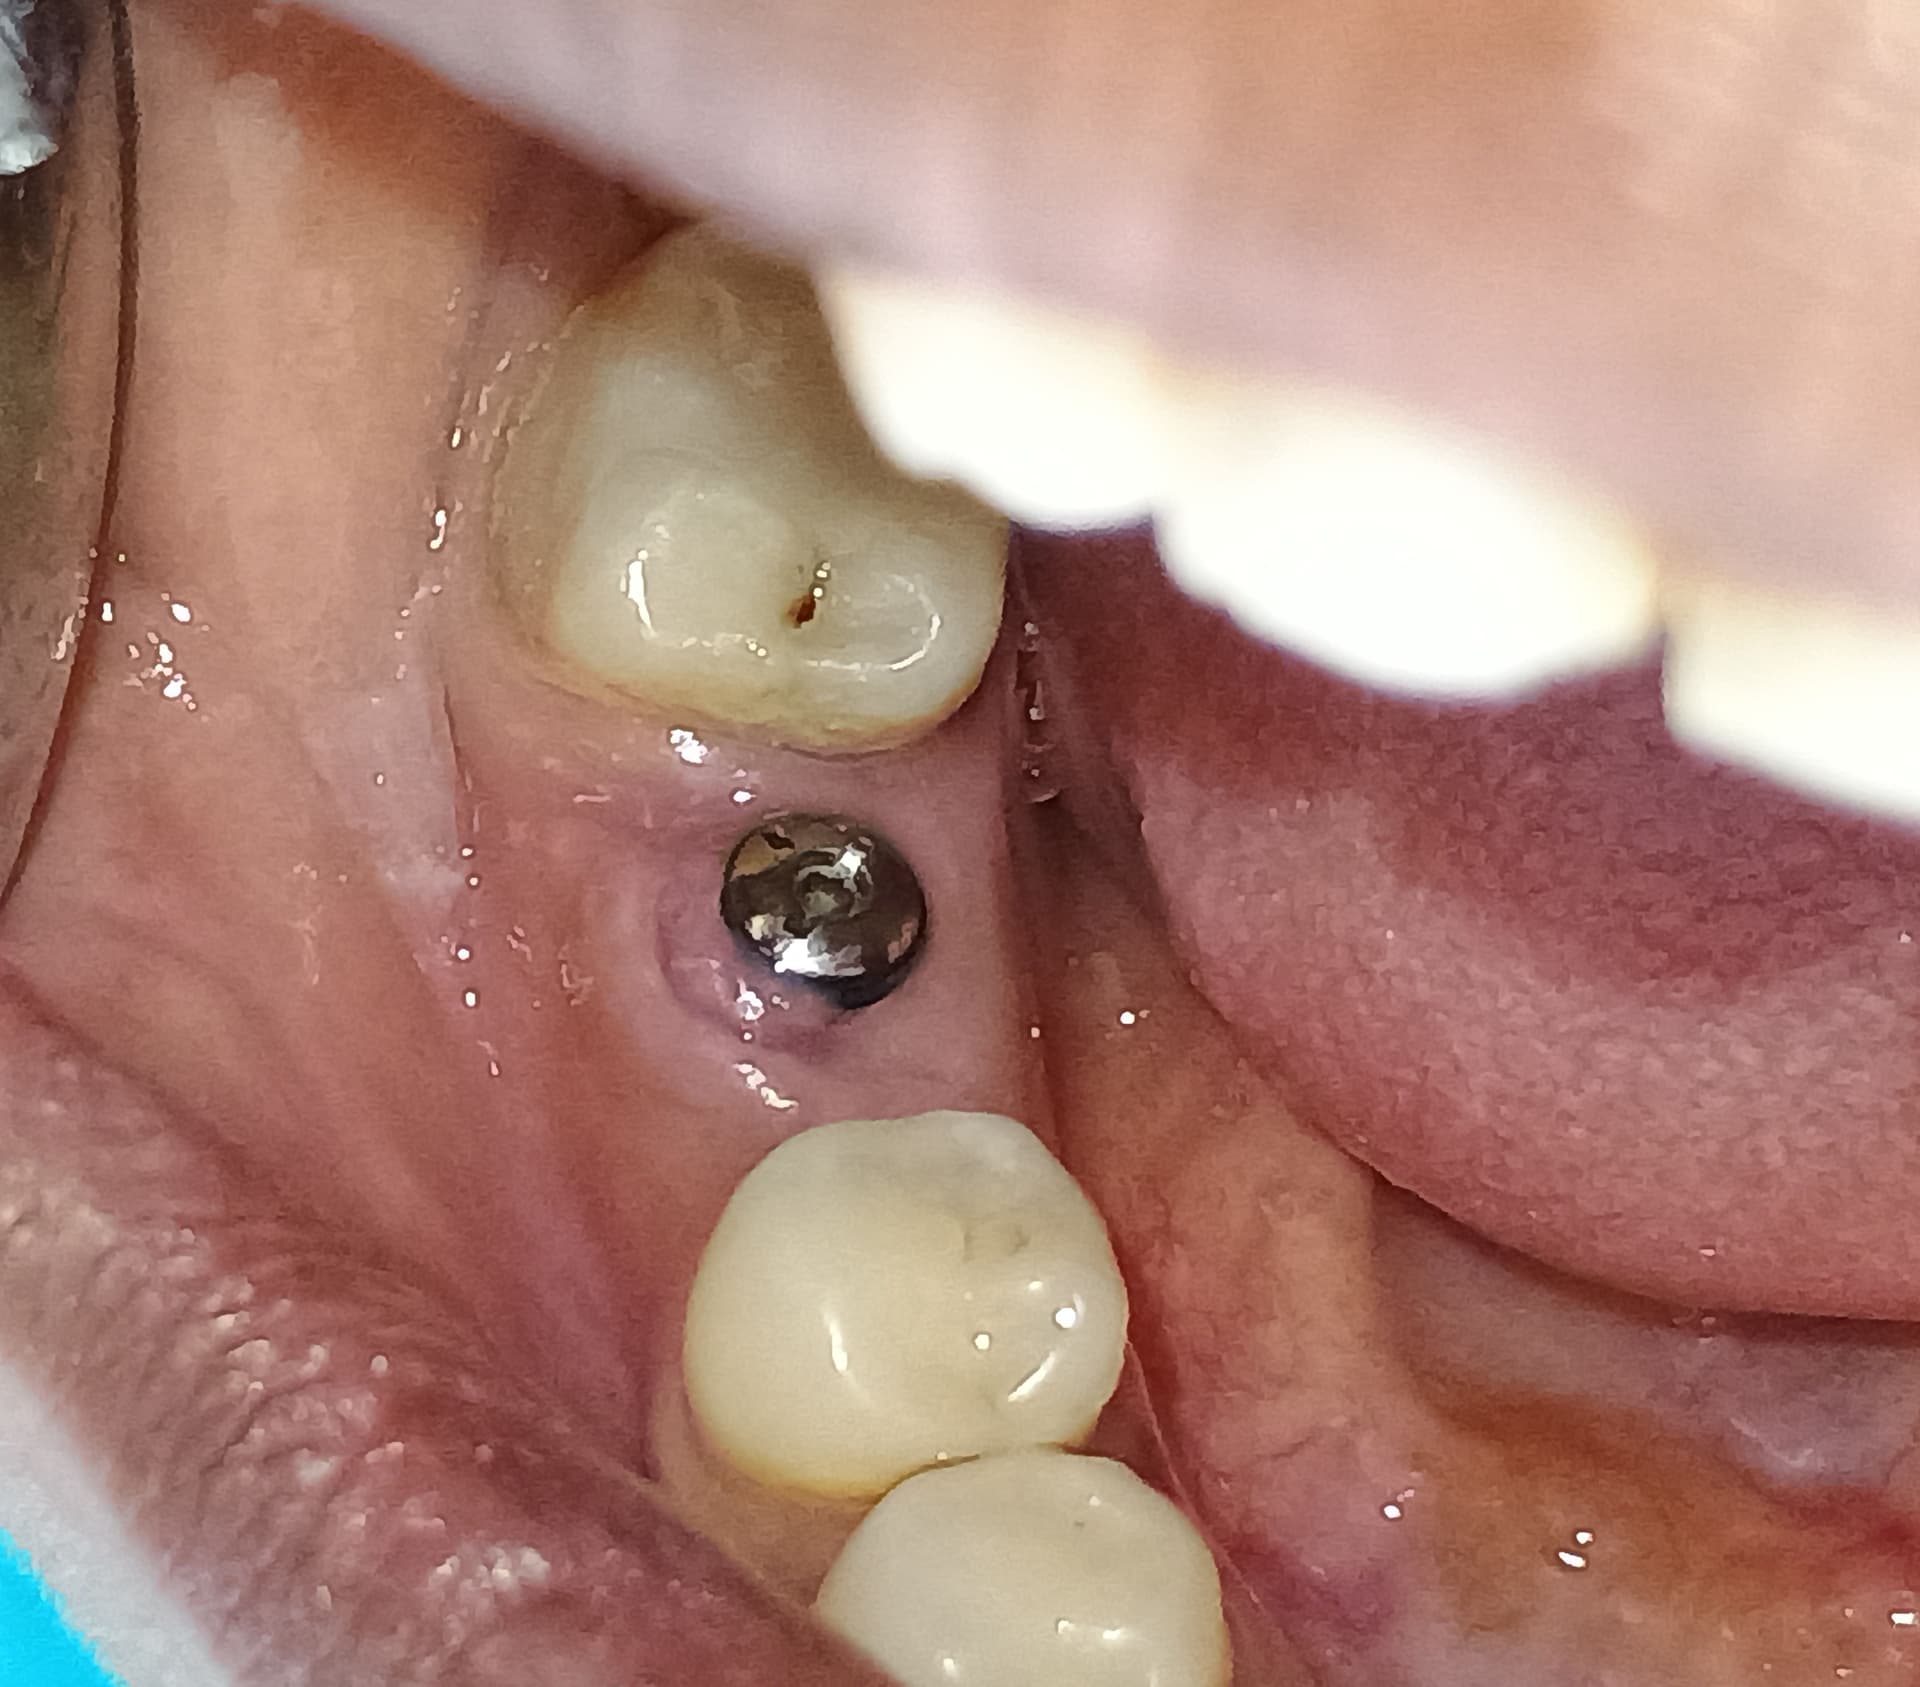
Check the soft tissue for blanching. If framework fits, and prosthesis doesn’t, your culprit might be the ridge. Including some photos would be helpful.
Leonard Smith DDS
9/21/2018
Yes the first comment is good. To go through several issues for future note: After final impression do a try in of an acrylic jig with the temp tubes attached. Take Pano to verify seating. Cut acrylic jig if a tube doesn't seat, reattach in mouth with GC pattern resin. Then need to reset the multi abutment analog in the cast. Next , the teeth should be set and confirmed on a wax rim with temp tubes , this is seated and remounted if needed. Your 4 screws need to seat each time. Next the Ti bar is milled, this is then tried in, must seat passively with 4 screws in place, take a pano, it must fit with no gaps or else you need to go back to confirmation jig. You cannot segment, adjust or reattach the Ti bar, it cant be done. The next step is the lab attaches the original wax up to the Ti bar and then you must try in bar and teeth again to verify esthetics and occlusion and all must seat with 4 screws, I take a light bodied PVS impression on the intaglio surface to verify the current soft tissue model, lab will help you with this. Now case is processed. When bridge is back, I look at acrylic around the abutments, the female part in the bridge, I use a 2 round bur to be sure there is no acrylic for tissue impingement. When seating, there should be no pain to patient. If there is, these spots are adjusted just like a denture. Case should seat and all screws seat without force. If one or more don't, look for the acylic on intaglio surface. If it was seated at try in it is the finished acrylic hanging up; If you did not do the initial confirmation steps, then you don't know what the problem is, take a pano and look for gaps between abutment and tubes. You cant place one of these hybrids on only 2 screws, something will give, either the acrylic fractures or bone loss around the stressed implants. One last tip, there is only one adjustment possible on the Ti bar that I know of. Put the bridge in, seat and look down the tube that screw will not seat in, you may see the abutment threads are not completely lined up with the tube opening, you can take a 12 fluted resin bur such as ET9, so it wont cut easily, and you can slightly widen the tube screw opening to where the screw will engage the abutment if there wasn't much descrepincy. Do this out of the mouth. Reseat. Good Luck, take this as just my experience. Sincerely Leonard
Howard Abrahams
9/21/2018
If framework alone fit in mouth, we know it is accurate. If acrylic was processed to it and now it does not fit, odds are it's the acrylic preventing you from seating things fully. Put some PIP (pressure indicating paste) on intaglio side and try in and start whittling away. Don't be afraid to cut acrylic, you can always add some back if needed. DON'T cut the bar. You've come too far.
Dr Dale Gerke, BDS, BScDe
9/21/2018
There are a multitude of possible reasons for your problem. So you should go through step by step to eliminate each one and come to a possible solution. Was it the original impression: it would seem not to be since you say the bar fitted at the try in stage. Was it the laboratory causing distortion when pouring the model: it would seem not since the bar fitted at try in stage. Was it a dimensional change issue after casting the frame: it would seem not since the frame fitted at try in. Did the frame actually fit at try in: you say it did but did you fully check the fit (possibly with radiographs) since what seems to fit is not always the case. The most likely issue – provided the frame actually did properly fit at try in, is either too much acrylic or porcelain has been added to the tissue surface of the prosthesis, or there has been some hypertrophic growth of soft tissue (which quickly and easily happens if the healing caps are not the right size or if you take too long to insert the bridge after removing the healing caps (ie the gingival tissues collapse quite quickly sometimes). Any of these soft tissue issues can cause “push back” when you insert the prosthesis and therefore cause a problem with the proper seating onto the abutments. You have not provided enough detail to make a definitive conclusion, but the “push back” scenario seems to be the most likely problem. So how to solve the problem? I am sure you will have done this, but check to implant surface of the abutments and make sure there is no foreign material there which would prevent proper fitting. Check the fit on the original model to check that the prosthesis fits properly (ie including with the silicone tissue surface in place). If there is any resistance then trim where there are problems. A previous contributor mentioned using pressure paste to check the fit, but I find this is tricky to get right. Therefore if the prosthesis fits on the original model, you can take another impression, preferably splinting all impression copings together and using a special tray and an open technic (you may have done this but I am just mentioning how to eliminate possible impression issues). Once you have another model you can check the fit of the prosthesis. If it is soft tissue push back then adjust it until it is correct. It may be too much acrylic, porcelain or metal material on the impression surface. However I often find that the laboratory adds too much porcelain or acrylic around the emergence profile area of the implants/abutments (trying the get better aesthetics) but unfortunately this usually makes it very difficult to get a proper fit and I end up having to trim it off. If there is no soft tissue push back on the new model but it still does not fit, then it is likely that your original frame did not fit or there has been some distortion during processing. If that is the case then the laboratory can section the frame and weld the frame together so it does fit the new model. Sometimes this can be done without removing all the teeth and base (it depends on the material the frame is made from and whether the laboratory can cold weld). Your suggestion of sectioning the frame and fitting the sections to the implants and bonding the sections together with acrylic is likely to be difficult to get a reasonable result for several reasons. Suffice to say, if you needed a proper model for the initial job, then you need a proper working model at this time.
Emerson henry
9/21/2018
CHECK FOR BONE OR SOFT TISSUE IMPINGEMENT BETWEEN IMPLANT AND ABUTMENT . REMOVE AND RESEAT
Bruce Smoler
9/22/2018
One simplistic approach is to make sure the abutments are not loose. if they are seated firmly, but slightly unscrewed from the implant platform, you may be close to seating the prosthesis, but not close enough to fully torque into place. Other concerns have already been addressed. Remake a verification jig from the master model to confirm the precision of the master model and existing implants. good luck
John Stone
9/24/2018
I like the preceding recommendations, I might just add have you tried an analogue separately on each implant position on the prosthesis? If it's an acrylic problem you can adjust extra orally. Always use an abutment on the prosthesis when adjusting so as not to damage the prosthesis abutment. I have had the experience of Straumann multi abutments stripping after try in, not judging, just saying. They know of the problem and will replace the abutments.
Greg Kammeyer, DDS, MS, D
10/23/2018
Since acrylic shrinks it changes dimentionally the fit of the prosthetic.
michael johnson dds, ms
10/23/2018
shrinkage of the acrylic will not affect the titanium fit. We've been using acrylic to metal for 50 years and this has never been a problem. In this day and age, with stout titanium frames, this is a relative impossibility. So please make sure your comments are not just opinions but based on fact. If the frame fit initially but doesn't once the acrylic is applied then it's most likely that a fin of acrylic has gotten somewhere where it doesn't belong, or there's undue pressure on the tissue, or the screw channels are not allowing the screwdriver proper access/orientation to engage the screw fully or, in the case of the straumann SLA abutments, the angled abutments can sometimes strip out (as mentioned above). One or more of these are issues are much more likely the problem, not acrylic distortion.

Featured Products

OsteoGen Bone Grafting Plug
Combines bone graft with a collagen plug to yield the easiest and most affordable way to clinically deliver bone graft for socket preservation.
CevOss Bovine Bone Graft
Make the switch to a better xenograft! High volume of interconnected pores promotes new bone. Substantially equivalent to BioOss and NuOss.