Implant Removal Questions
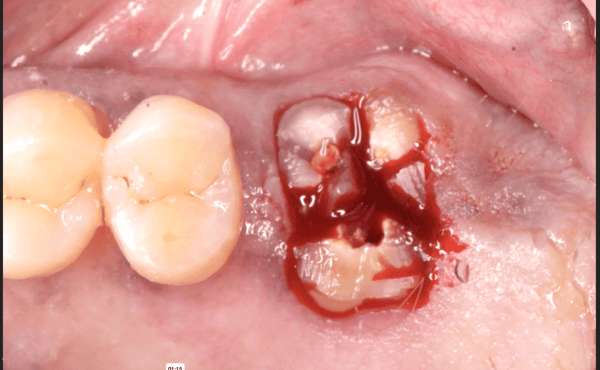
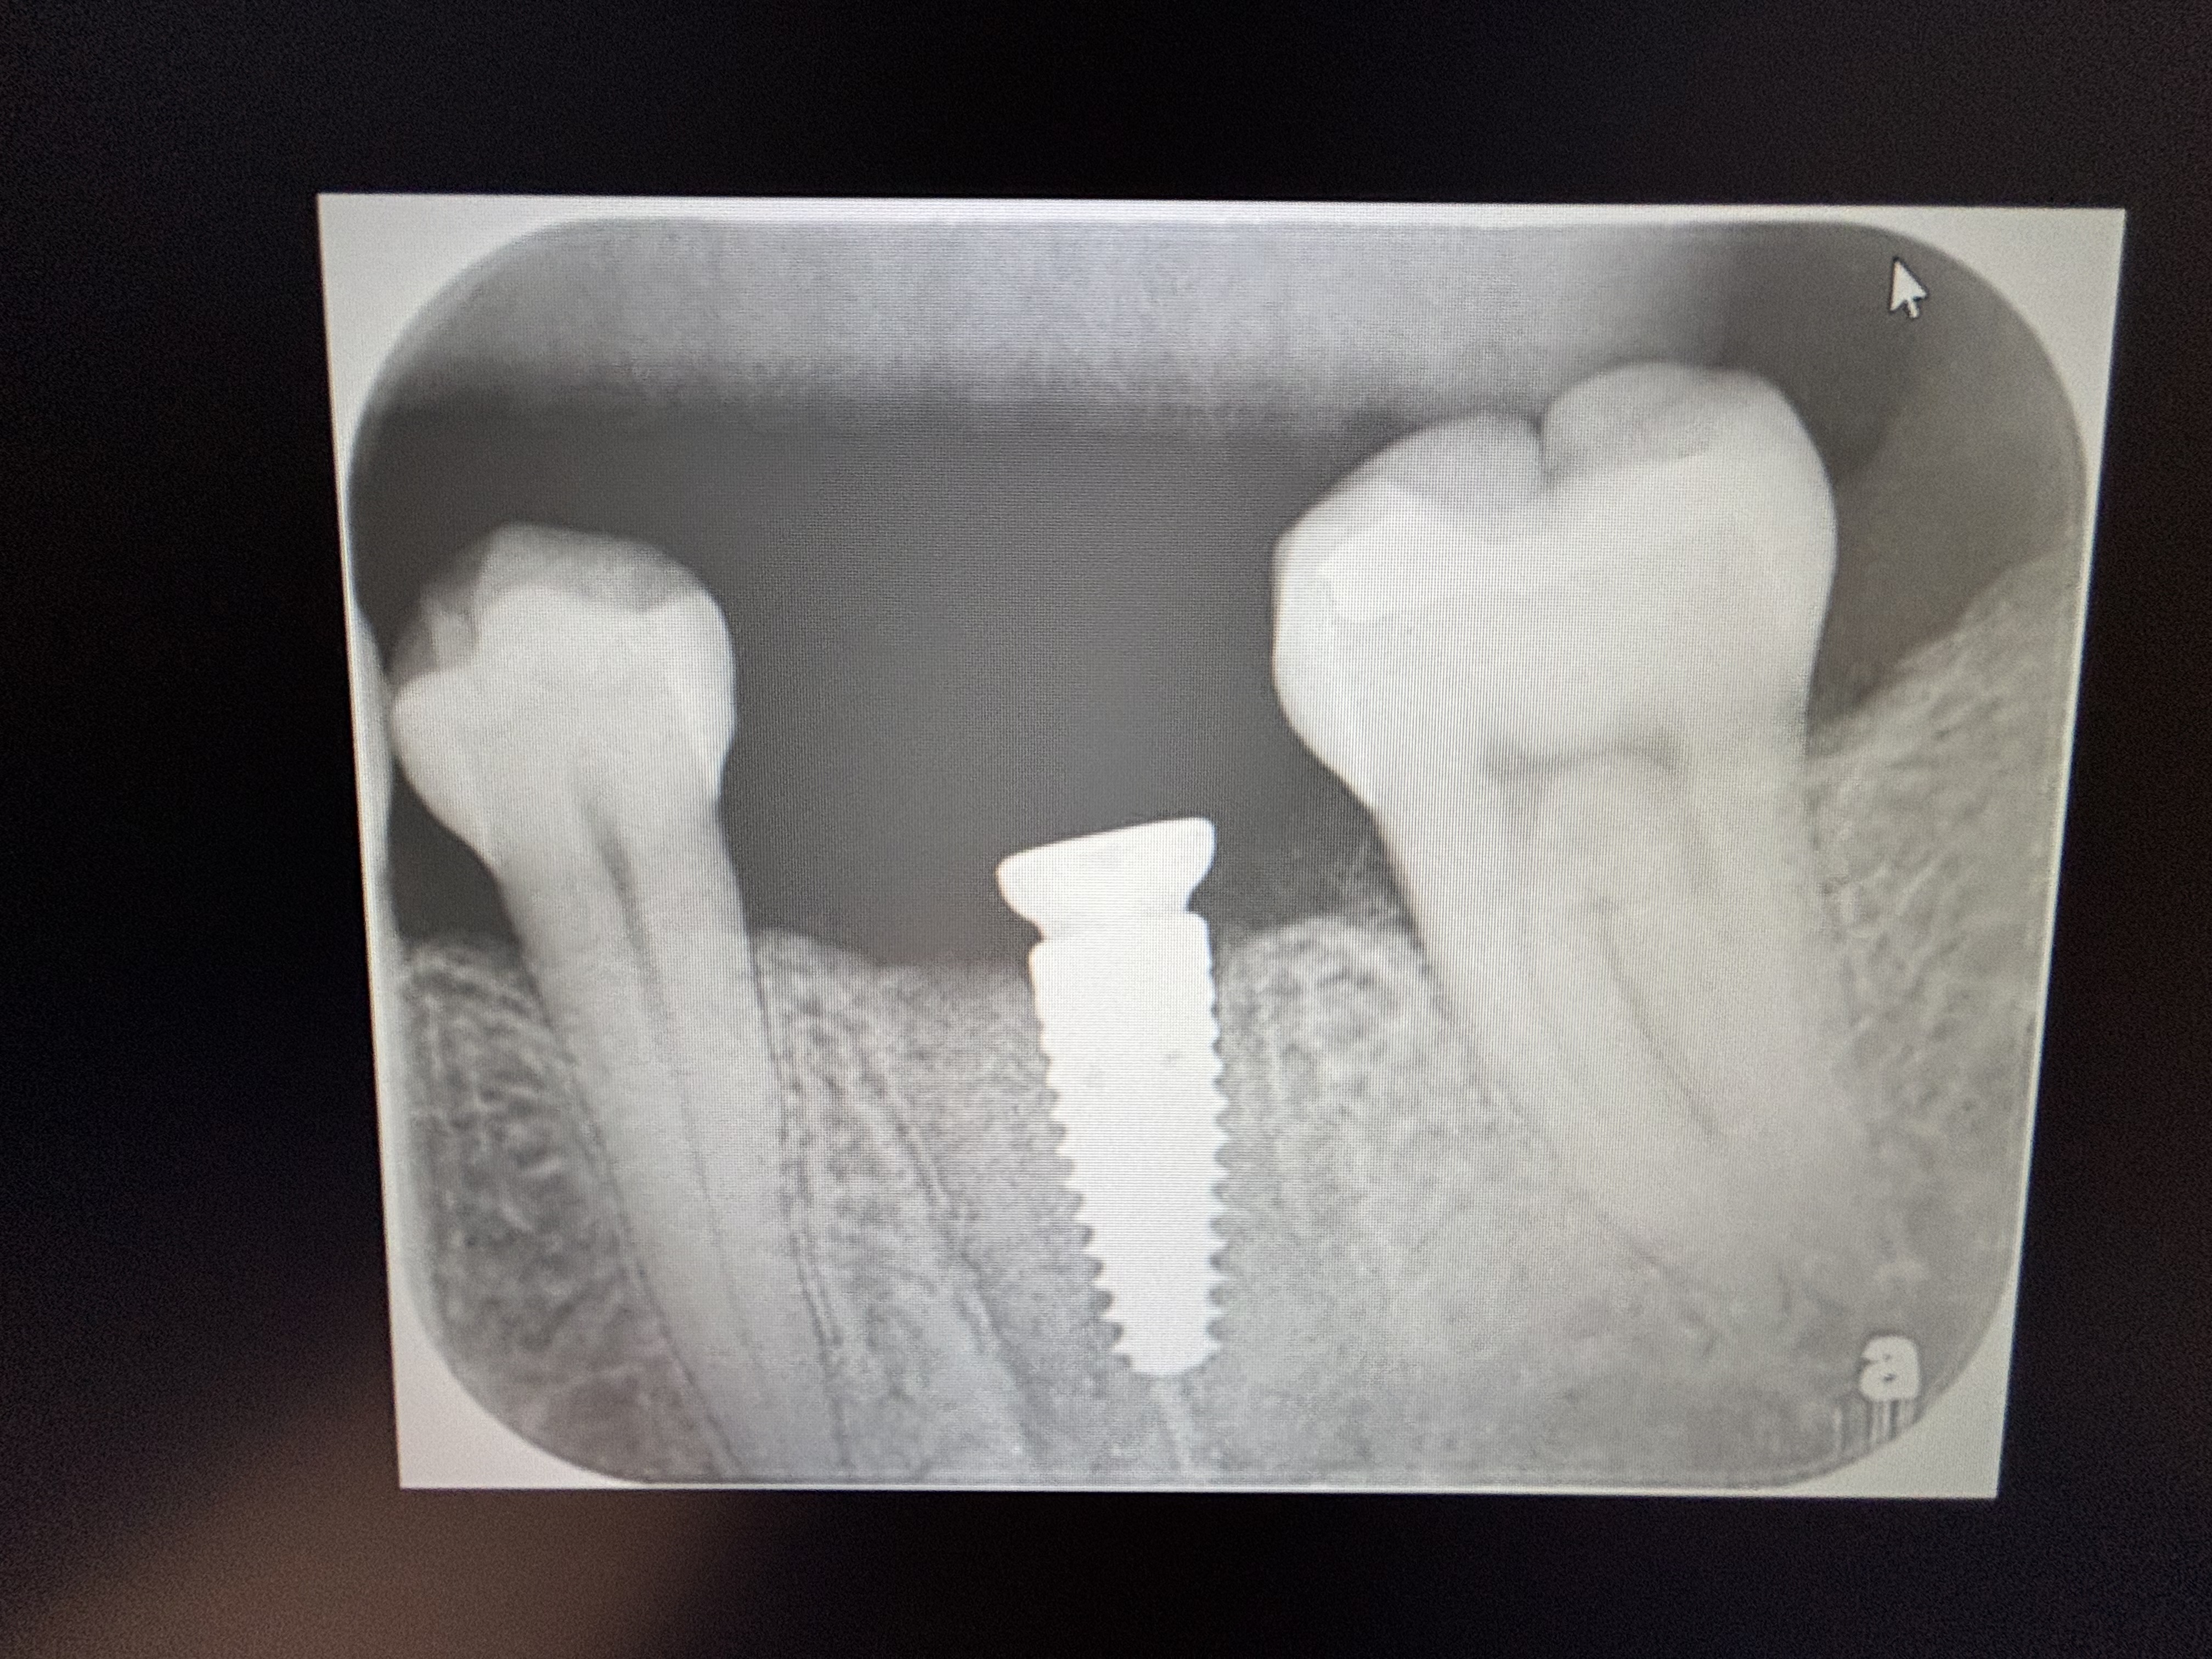
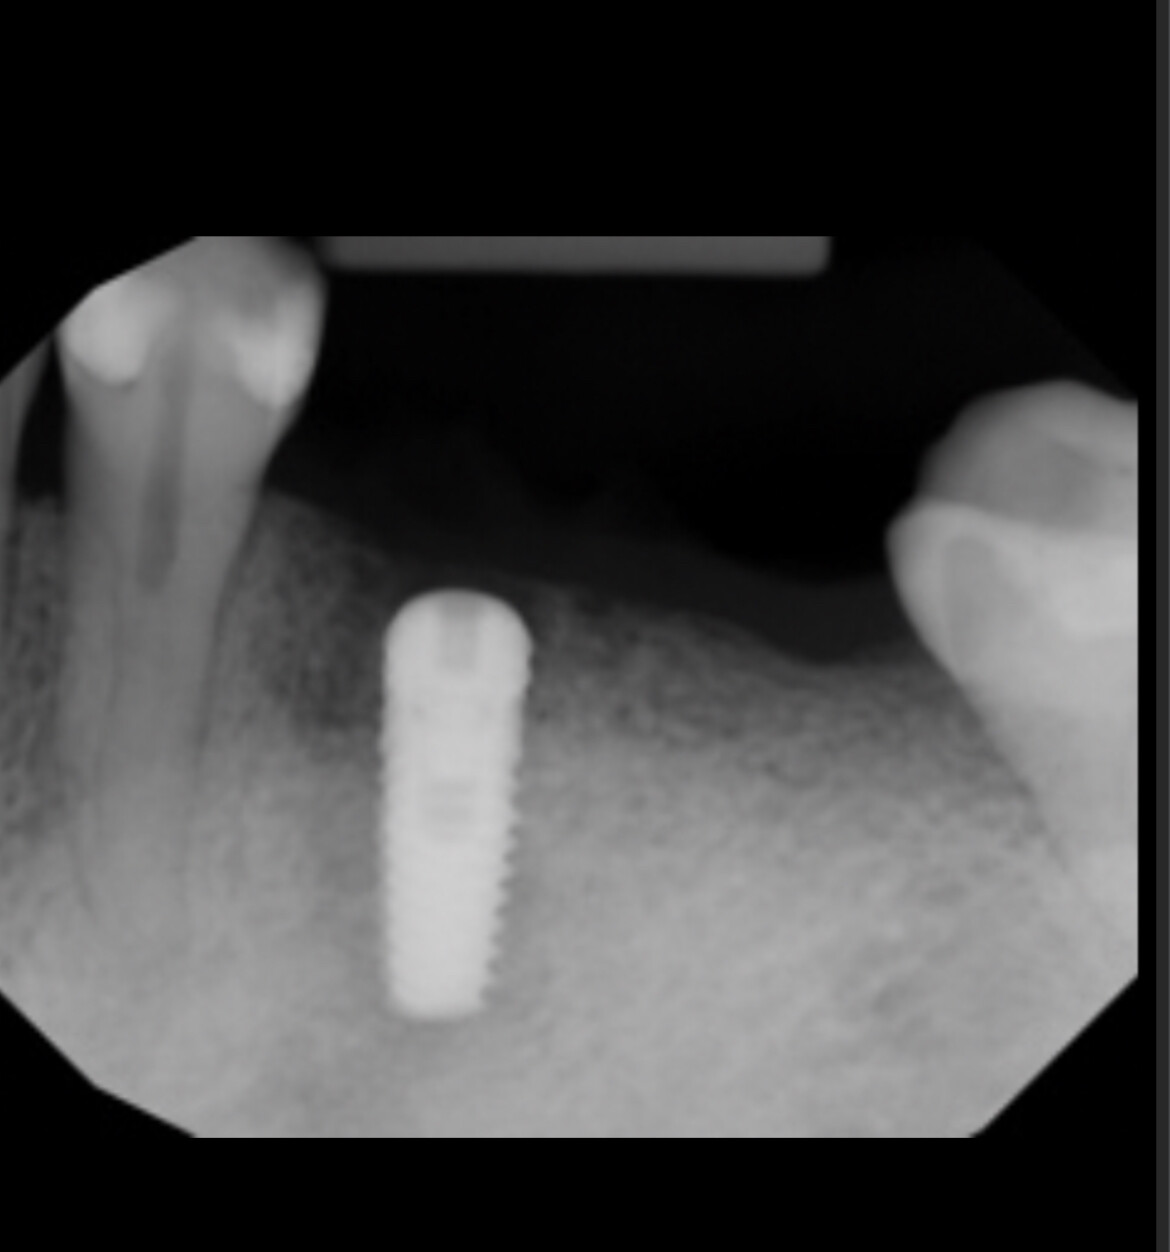
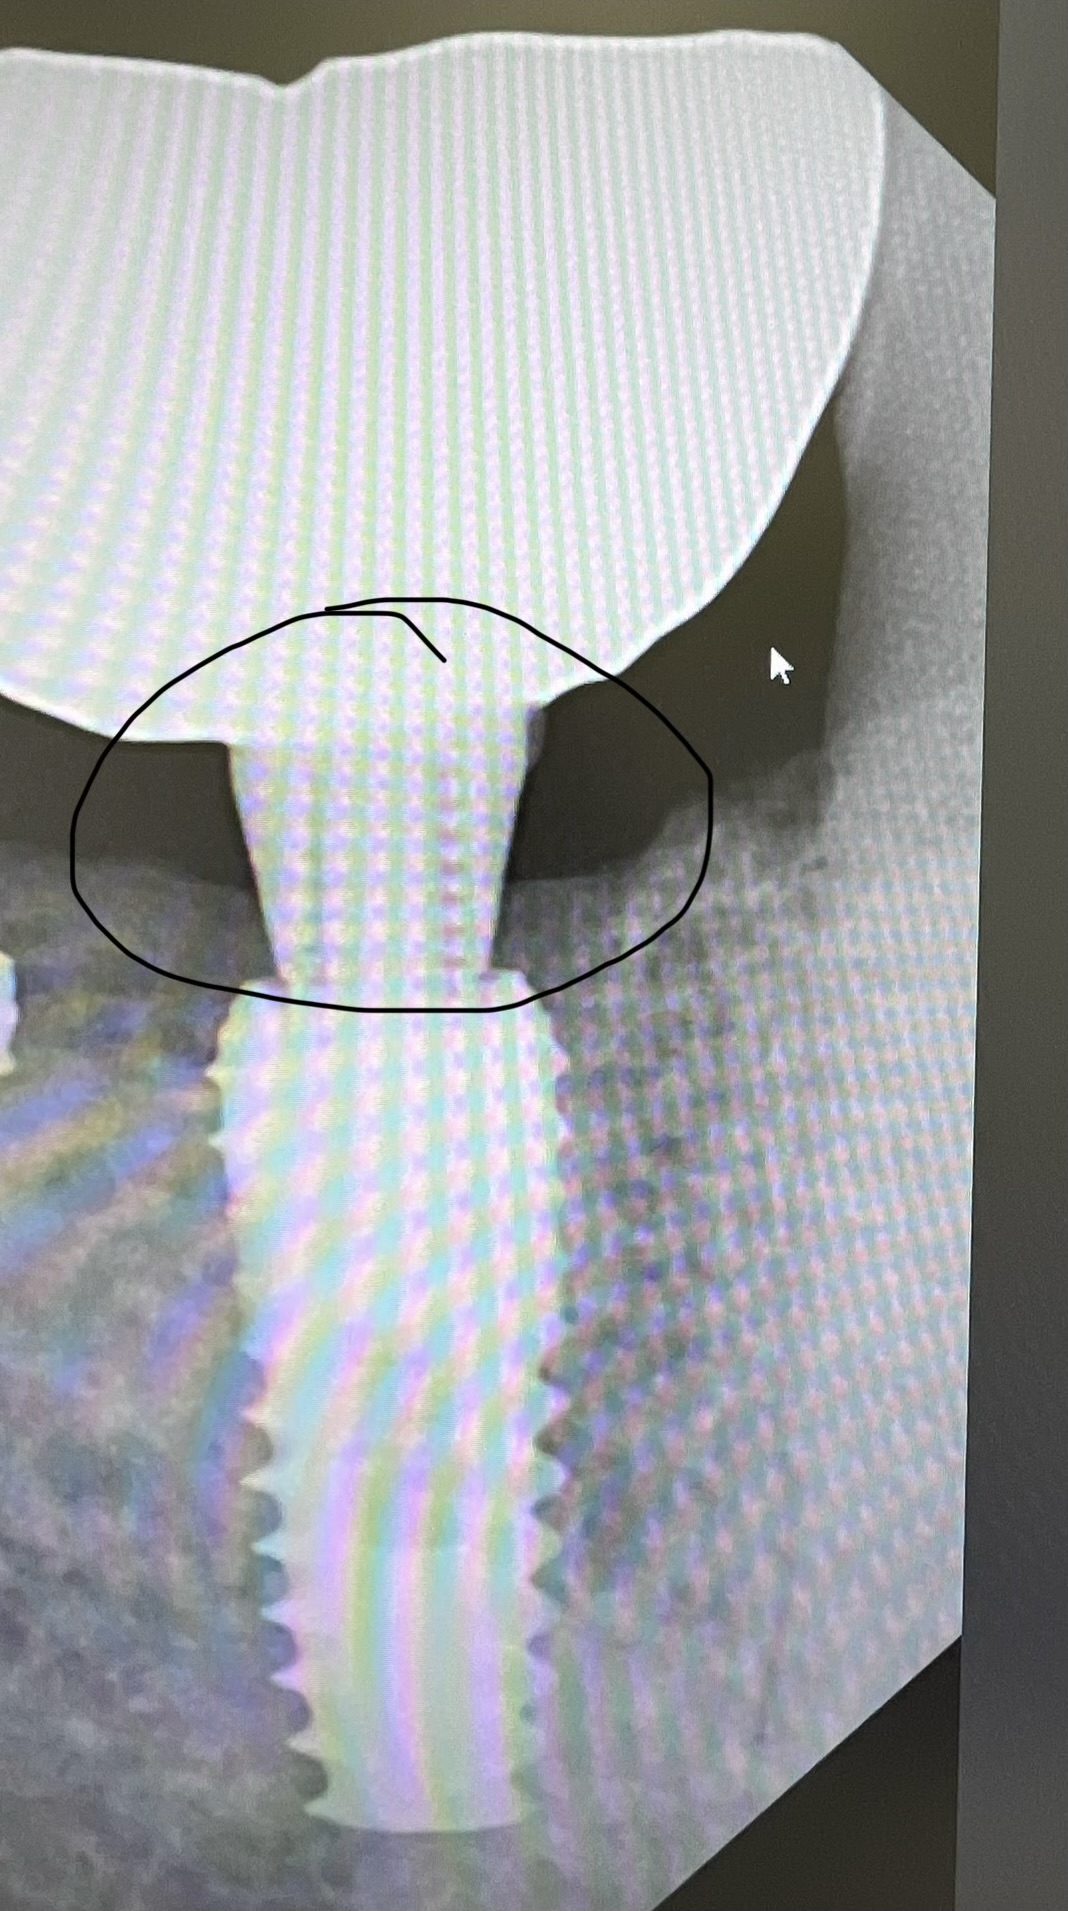
1) If an implant flowers during insertion and needs to be removed, how would an implant removal kit be any different from using the torque wrench with an implant driver running in reverse? Is there something anatomically different about the Implant Removal Screw that engages the internal walls of the implant better that the implant driver would be able to do?
2) Do you doctors have any experience with the MCT implant removal kit? It seems very similar to the Neo Biotech implant fixture removal kit at a fraction of the price.
Thank you!
12 Comments on Implant Removal Questions
New comments are currently closed for this post.
OsseoNews
11/9/2018
Thanks for the questions. There are many methods that can be used to remove an implant. A great article on the various techniques is by Froum et al. Techniques to Remove a Failed Integrated Implant. The method you suggested is certainly viable, and is similar to some techniques described by Froum. As far as the kits you inquired about, they are both based on the reverse torque technique, but they contain specialized screws that help to better engage the internal threads of the implant to aid in removal. They also contain other instruments to help aid in the reverse torque process. Basically, they make the whole process much easier because of the specialized parts that are made for this particular purpose. As far as the difference between the MCT removal Kit and the Neobiotech Kit (offered as Gen 2 Removal Kit), we have sold both over the years, and clinicians have had equal success with both kits. The MCT Kit is a bit simpler to use for a case like you described, but sometimes, depending on the integration, you may have to use the trephines included in the kit, in a manner described by Froum as the combination technique, i.e. the trephines are used only a small part of the way down (1/3) to cut some bone without damaging the surround bone, and then you employ the specialized screws to remove the implant. With the Gen2/Neobiotech kit, the use of trephines is reduced further, because the fixture remover screws essentially use 2 types of screws to engage the implant, which allows greater control and force to be employed during removal. So the Neobiotech kit may prove easier to use in certain situations where the implant is "more" integrated. It is more expensive, because there are simply more screws and other parts involved. I hope that helps.
jwnicholsdds
11/13/2018
Thank you for this incredibly thorough response. I truly appreciate it.
Does the neobiotech kit include trephines? When I checked, I don't think it did. To me, this is an advantage of the MCT...however, perhaps it doesn't have the trephines in it because you usually don't need it with their kit???
BK
11/9/2018
Umm. You wouldn't need one for right insertion. They are for if an implant has already Osseointegrated and needs to be removed
jwnicholsdds
11/13/2018
Well, what would you do if the implant flowers and you can no longer engage it with the torque wrench and driver? This is an indication for a kit or trephine, as far as I understand.
Paul
11/9/2018
Dentists are gadget freaks and the industry 9is happy to cater to that love affair. It's been my observation that dentists are not very mechanical but nevertheless they thought that they will be earning a living with a stethoscope. Disregarding bone physiology, bone is a dense medium that we put screws in no different then we do it in wood or plastics. If one can drive a screw with a simple screwdriver , why would he need another gadget to go the reverse way. We use the same tools other industries use but made of different materials. Watch a carpenter and it will remind you of a dentist or orthopedic surgeon.
jwnicholsdds
11/13/2018
Because you need to engage the internal of a broken implant somehow.
Benjamin
11/9/2018
Agree with "BK". If you've just inserted the implant and its not integrated then you should just reverse torque the implant. I would presume that if you've "flowered" the implant you seated it with greater torque than the implant was engineered to withstand so it's gonna' be in there pretty tight. As long as your carrier can still engage the connection, then simply reverse the bad fixture out.
However, if you have no means of engaging the internal walls of the implant because you stripped the "hex" or whichever "socket design" that is in your fixture then these specialized back-out screws are a bull-nose high tapered screw which is REVERSE threaded. This means "righty-loosy" and "Lefty-tighty" rather than "conventional" thread patterns. Therefore, these will begin to engage the threaded portion of the abutment screw channel or even the side walls of your stripped implant as you turn them anti-clockwise. As you continue to turn they will "lock" into the implant. Continued torque in the anti-clockwise direction will be transferred to the fixture which has conventional threading pattern and therefore traditional "Lefty-loosey"! They don't always work for (partially) integrated implants which need to be removed, I've seen them break and alternative methods needed to be implemented to remove the fixture. Always have a "Plan B" ;-)
jwnicholsdds
11/13/2018
Hi Benjamin,
Thank you for your thorough reply. I do appreciate it. You really cleared this up for me brother!
Wesley Haddix
11/10/2018
I love the analogies to woodworking. I joke with patients that I learned most of what I needed to know about placing implants in Wood Shop Class in high school.
Continuing in this vein, and with regards to the question at hand: reverse torque can be effectively applied at the time of placement or with an implant of limited integration successfully (I recommend a hand ratchet for the sake of your expensive handpiece motor).
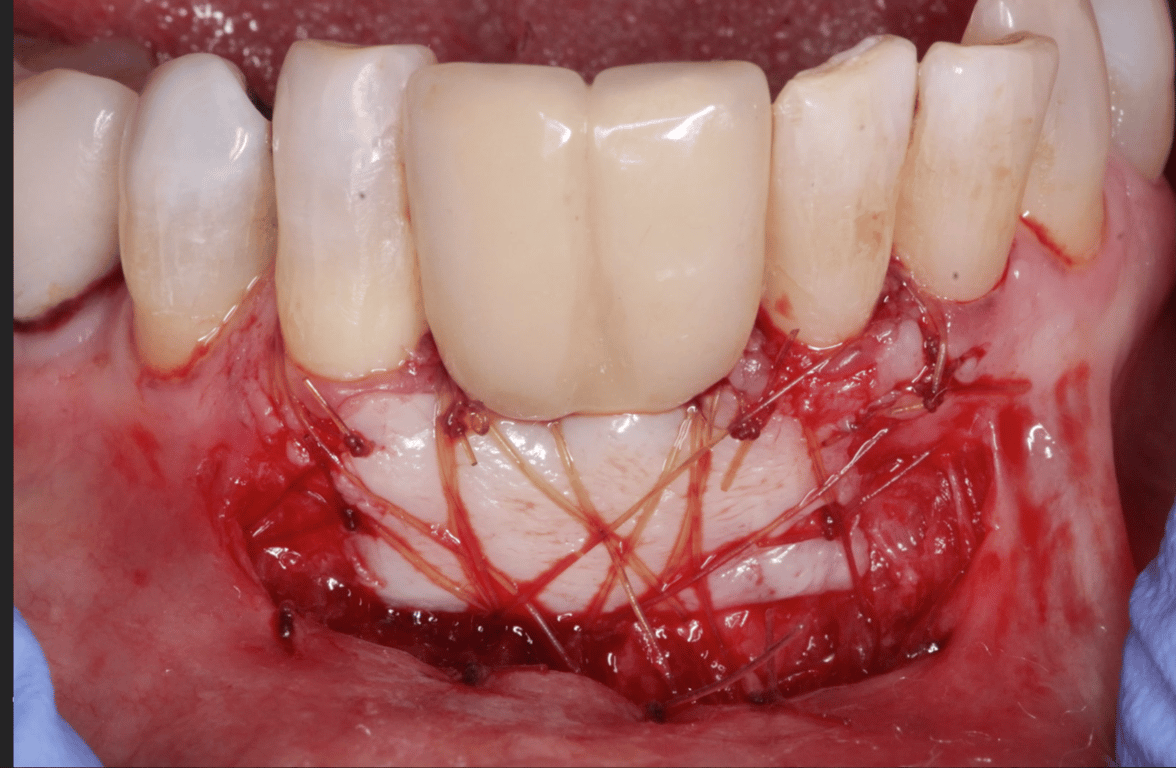
There is a limit to this approach: if the force required to back out an implant exceeds the physical limits of the anti-rotational feature of the implant (internal/external hex), using a simple implant fixture mount may result in a stripped hex and no implant movement. This may be the case with a large well integrated implant in dense bone, i.e. the mandibular symphysis. In these cases, reverse thread removal screws as described by Benjamin are a logical next step. These are the surgical equivalent of “Easy-Out” taps used in Metal Shop Class to remove broken/stuck bolts that have “integrated” (rusted) into their host engine block. These too have limits that can begin to approach the integrity of the patient’s bone itself, and injudicious force can result in unintentional “en bloc” removal of the implant and chuck of bone. Here, applying trephines to remove enough bone to reduce an implant’s bone contact sufficiently to allow reversal with a wrench/handpiece may be necessary.
The most difficult implant I ever remoclved was ironically an early Branemark polished titanium fixture, 8 x 3.75mm, in area 18. The distal abutment of a 4 unit bridge, the abutment screw (cemented in place with glass ionomer) had fractured off. The implant was planned for removal, though memory fails me as to the exact reason. Long(er than planned) surgery summarized, no amount of torgue with well-engaged 151-A forceps would budge it until I had trephined about 6 mm along the implant body.
So: Socket Wrenches work for screw that are in soft wood. Rusted bolts need EZY-Out Taps. And sometimes, to keep from breaking something you don’t want to, you still have to drill down around it.
; )
jwnicholsdds
11/13/2018
Love the way you explained this. Really appreciate it man.
alvaro ordonez
11/12/2018
I have used similar kits to the one you mentioned, they are pretty much the same. They work well
In addition to that we alternate between the following techniques:
1. Insert driver in the implant platform and counter rotate: If integration is poor implant will come off. It works very often. If you force it you can stripe the driver or the internal hex so dont force it as it it doesnt work, having integrity of the internal hex is still convenient for the next following alternatives.
2. Use Piezosurgery thin extraction tips and carefully work around the implant. Then insert the driver as mentioned above.
3. Trephine 2/3 of the implant lenght and luxators. If we need to work a little faster and the implant is very well integrated and with plenty of bone.
I hope this helps
jwnicholsdds
11/13/2018
That was very helpful. Thank you.

