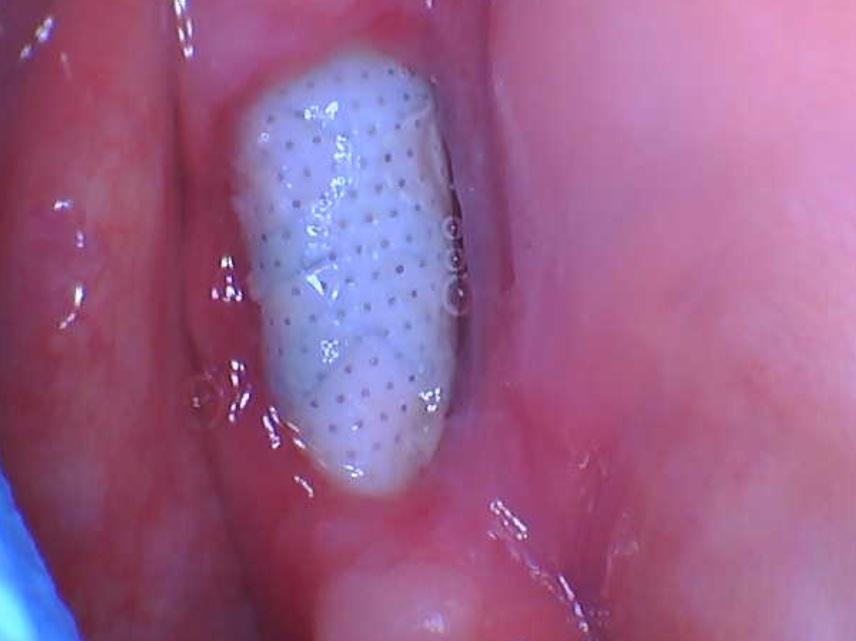
Retrieval of fractured Bicon implant abutment?

Hello colleagues!

First, I wish you all well and hope that everyone is weathering this uncertainty. I’m confident we will get through this and return to our practices with a greater appreciation for how fortunate we are to be in this great profession together.

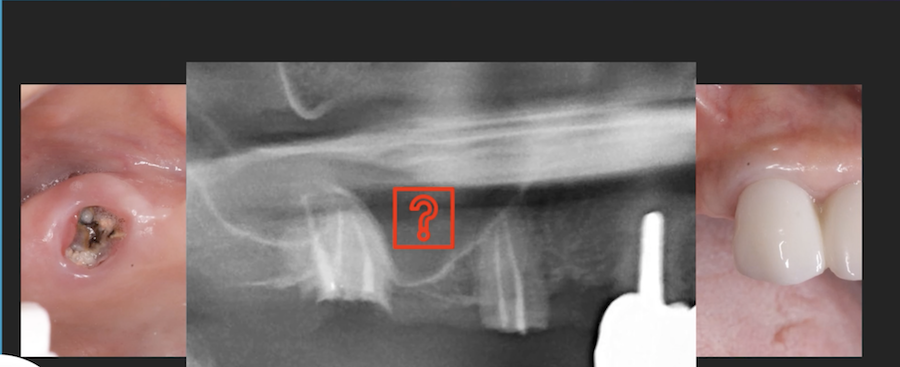
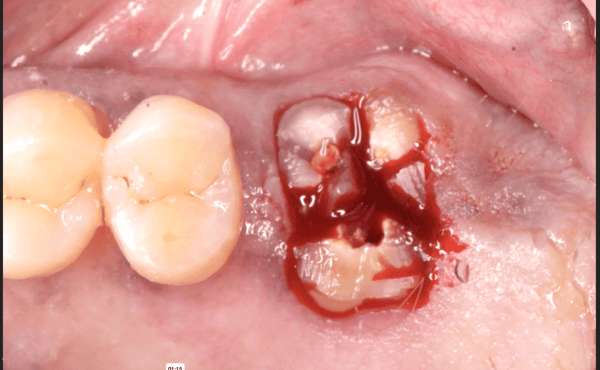
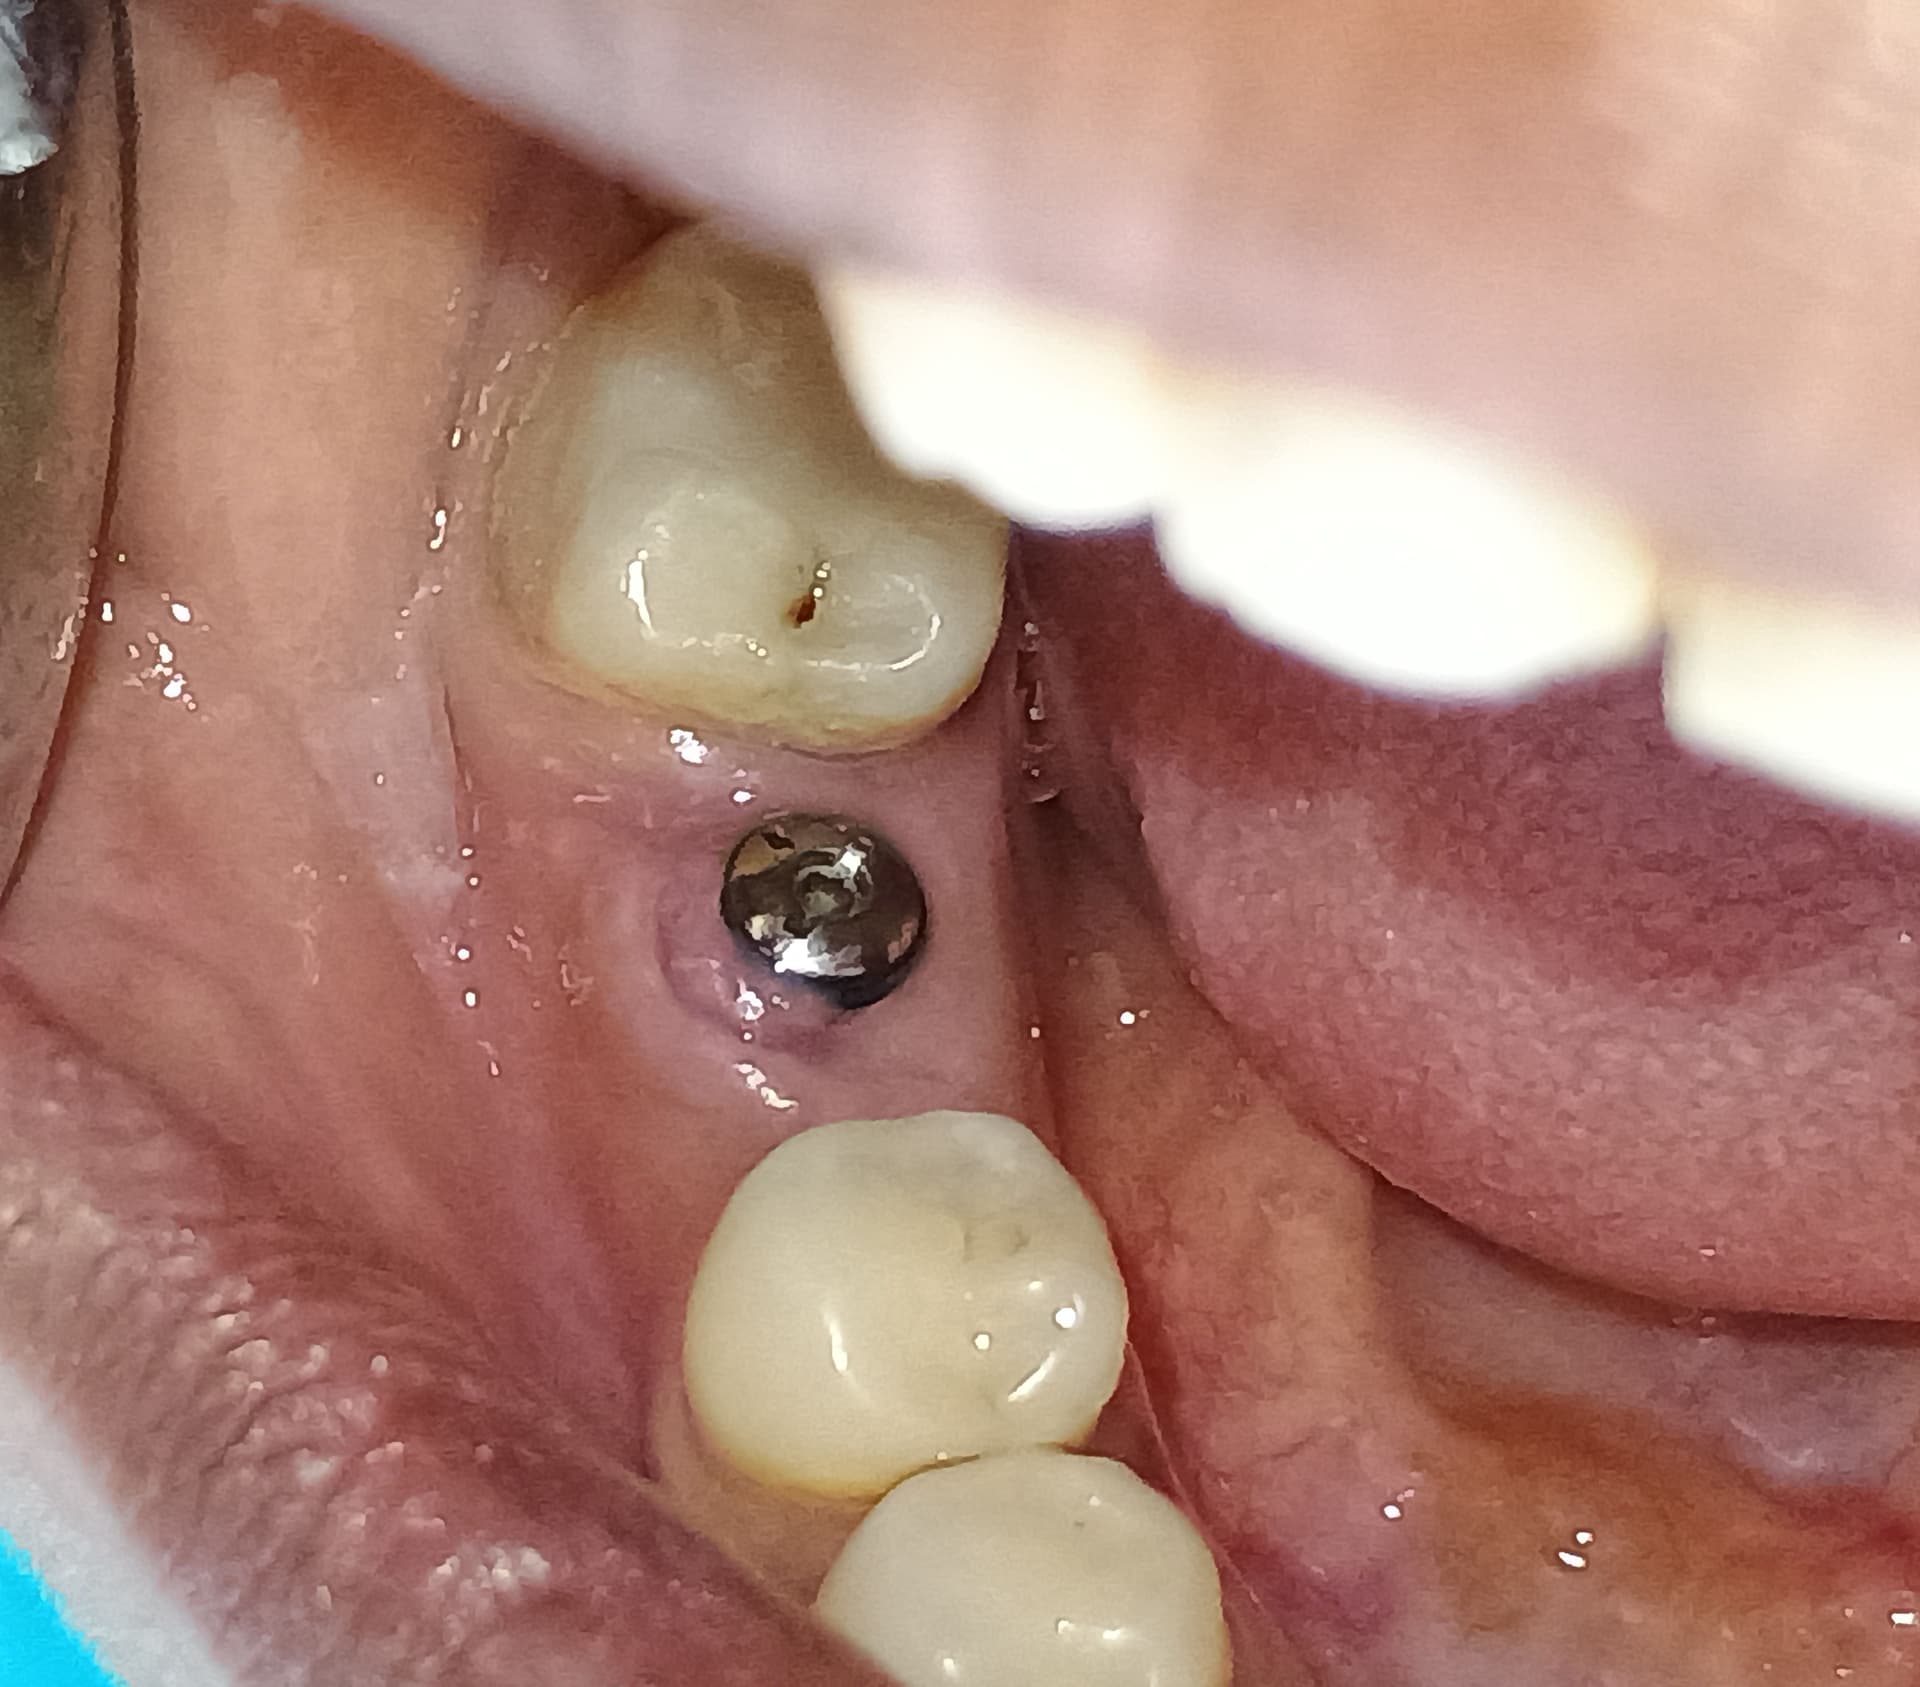
I had an emergency patient today who presented with a fractured implant crown on #9. After looking at the fractured crown and the radiograph, it appears to be a Bicon implant with a friction fit abutment. The patient had it placed back in 2002, then a few years back while he was deployed it came loose and was cemented back into place. I’m assuming it had fractured at this point and based off of what appears to be cement at the platform, it was simply recemented as I’m sure his access to implant services were limited in Afghanistan. Obviously my first point of attack will be to retrieve the fractured piece of abutment and restore from there with a temporary crown to reestablish gingival contour, followed by a final restoration. I was wondering if anyone has experienced this before or could offer some advice as to how to retrieve the fractured abutment. With the fact that it is basically tapped into place and not threaded, I’m concerned that conventional broken screw retrieval methods may not work. Anyways I appreciate your feedback immensely.


14 Comments on Retrieval of fractured Bicon implant abutment?

New comments are currently closed for this post.
Mark Bourcier DMD
4/20/2020
I am a Bicon user. If you can use a small carbide like a 330 to make a slot in the top of the remaining abutment fragment without touching the implant body, then place a small instrument in to the slot like a screwdriver and rotate, it will likely loosen. Design the next crown to be light in excursions.
mark
4/20/2020
Mark is right. The physics of a spline attachment are easy. First check with the manufacturer's recommendation. Take a small bur and make a slice to create a release. You could make a through and through slice to remove the broken abutment friction grip piece in two chucks. There are no threads to worry about disturbing,
John Manuel, DDS
4/20/2020
Both previous responses are correct, but a bit more info might help the process - 1) be careful not to generate heat to the implant body itself. Use light, mist-cooled high speed 330 bur application to make the slit. You could make an “X”. Then, to lighten the pressure needed to dislodge the abutment stem, clamp on to whatever you put into the slot and tap on that while rotating. Rotation with vibration helps. You could also use a very slow round bur into or onto the slot to loosen the cold weld.
Zev Kaufman, DDS
4/20/2020
I agree. Be very careful. Use an Optragate to retract the lips so that you can use both hands to stabilize the handpiece. Take a very fine carbide bur and you can actually go down vertically right in the middle of the fractured abutment. The vibration itself should loosen the fragment out. If it does not dislodge, extend the vertical cut laterally so that the abutment is sectioned. As Mark said, there are no threads to worry about. Just be careful and move slowly. I have done this before with screws as well and was even able to restore the threads so that a new abutment can be delivered. The most important is to GO SLOW!!! Best of luck,
mark
4/20/2020
excellent points. The good thing is the ease of access right up front at site #9 so this will be a great learning experience for you and a great confidence builder. As you place and restore more implants, complications happen all the time. These events expand your knowledge as well as caution you when NOT to attempt procedures that you are not comfortable with . For example, if this case involved a molar I would advise referral. Good luck buddy. Like they said....go...slow ...and... steady
Patrick Silvaroli DMD, AF
4/20/2020
Thank you all so much for your guidance. All great recommendations. I really appreciate your feedback and will post a follow up!
Gerald Niznick
4/20/2020
On removing the post, I would replace the abutment with a cast abutment that transferred the. load to the top of the implant to protect the narrow post from fracturing again - just eliminating lateral excursion forces may not be enough for that patient. That would be the last Bicon I placed because fractured posts with Morse Tapered connections are an inherent risk given all the occlusal forces are on the narrow post.
Mark Bourcier DMD
4/20/2020
Dr. Niznick do you believe that the fracture rate of 2.5mm diameter Morse taper abutments is higher than that of tiny abutment screws?
Don Rothenberg DMD
4/20/2020
I’ve seen this a few times since using Bicon since 1986. It’s a fairly easy straightforward process. You have to make a small flap over the implant so you can visualize the top of the implant. With a #330 bur in a high-speed drill with LOTS of water drill straight into the center of the broken abutment post. Titanium is relatively soft and this is not difficult to do but it may take a number of burs. When the bear falls into an empty pocket you’ll be able to move it around and wiggle the broken abutment out. Once you have the broken abutment post out take another abutment and either remake the crown or see if you can get the old crown to fit if the abutment wasn’t prepped the old crown should fit If you have any problems give me a call.
Andy K
4/20/2020
Don’t listen to any dentist that never use Bicon system before. Bicon implant is pretty good system, I just want to be fair. But many dentists are afraid to use it, then they just don’t know how to deal with it. Like a pilot, you need to have enough hours, learn from the problems like this. Bicon website has a lot of good resources. This is what you need: https://www.bicon.com/cases/case-study/removal-of-a-broken-abutment-post-of-a-maxillary-lateral-incisor-and-insertion/
Wally Hui DDS. FAAID. DAB
4/20/2020
Try with ultrasonic scaler will give you suprise, be claim!
Rauso Carlo
4/21/2020
purtroppo è un problema che ho affrontato 15 anni fa per cui ho tralasciato questa tecnica, anche se la ritengo valida, 1° la connessione se si smonta non avrai mai la possibibità di poterla inserire allo stesso livello !! 2°se si smonta la protesi no problem! sulla frattura ho risolto ?? in modo economico e conservativo con osteoplastica ,e preparando un moncone onley e rifacendo la corona grazie unfortunately it is a problem that I faced 15 years ago so I left out this technique, even if I consider it valid, 1 ° the connection if it is dismounted never has the possibility to enter this same level !! 2nd if the prosthesis is removed, no problem! on the fracture I solved ?? economically and conservatively with osteoplasty, preparing a stump and remaking the crown thanks
Rauso Carlo
4/21/2020
unfortunately it is a problem that I faced 15 years ago so I left out this technique, even if I consider it valid, 1 ° the connection if it is dismounted never has the possibility to enter this same level !! 2nd if the prosthesis is removed, no problem! on the fracture I solved ?? economically and conservatively with osteoplasty, preparing a stump and remaking the crown thanks
AMG
4/21/2020
I’m assuming it had fractured at this point and based off of what appears to be cement at the platform, it was simply recemented as I’m sure his access to implant services were limited in Afghanistan. Obviously my first point of attack will be to retrieve the fractured piece of abutment and restore from there with a temporary crown to reestablish gingival contour, followed by a final restoration. I was wondering if anyone has experienced this before or could offer some advice as to how to retrieve the fractured abutment. With the fact that it is basically tapped into place and not threaded, I’m concerned that conventional broken screw retrieval methods may not work. Anyways I appreciate your feedback immensely." *********************************************************** Is that the radiograph & the photo of the corresponding crown/fractured-post?????? ********************************************************* 1. You may, please be assured, that You already have the skills to resolve it... post a photo. I would, Practice an OCCLUSAL CAVITY preps (not on tooth), at least 5-10 of them. Create 1/2 a dozen holes of 1.5x2.0mm diameter using a SS spoon handle. How you do it: A permanent ink RED/BLACK circle of 2.5mm diameter marked on the handle. Any selection of your CHOICE of tool and material that you feel comfortable with. Example; 1/4, 1, 1/2 2mm dia: Carbon, steel, (diamond), tungsten, FG, Latch MUST, GAIN CONTROL on PREVENTING HEAT GENERATION... easy Must GAIN CONTROL from SKIDDING....hard, this comes from GAINING CONTROL ON amount of PRESSURE APPLIED...easier, also DEPENDS UPON "RPM" .... easy. 1. Be it one hour TEN or TWENTY HOURS it takes/took 2. Be it 1, 2 or TWENTY INSTRUMENTS that BROKE , 3. TWO most important FACTORS TO "SUCCEED" IN THE PROCESS, IS being able to RECOGNISE(A) and RESOLVE(B) as follows A. WHY is that particular, METHOD, MATERIAL, TOOL or TECHNIQUE used is NOT working as INTENDED and then, ask/seek help, if necessary B. WHAT WOULD BE SPECIFIC SOLUTIONS, or (exposing) the secret, or the MAGIC THAT WORKS in that so called SKILLED HANDS!!!!!!!!! I am not dare enough to go in the patient's mouth until I gain my skills to put that hole in that SPOON HANDLE as PRESCRIBED for myself! I have shared my method of gaining skills required of me whenever challenged . I will be Upon successfully creating a 1.5-2.00mm hole in 2.5mm circle, with a 0.25mm wide INTACT & UN-SCRATCHED margin of the circle... you would have CONQUERED 2. You will never, ever, find any screw, any where, in or around the implant, for you to find it in the first place and let alone "retrieve" it!!! 3. You might consider posting an intra-oral photo, for evaluation of "perio-implant complex" 4. At this point, it appears, that what is appropriate would/could be as simple as A. Selecting an abutment that "accommodates" AESTHETIC REQUIREMENTS and B. Fabricate a crown, either in one piece, OR cemented outside the mouth. C. Making sure, that the emergence profile of this crown (360degree) be perfect. Perfect, in terms of, (a) aesthetics; (b) emergence profile and (c) biological demands D. Making sure, at the time of delivery, that the occlusion/occlusal contacts in i. centric; ii. protrusive & iii. lateral excercussions be "CLEARLY CLEARED" 5. The cement you are referring to, is not over the implant platform... I don't see any. it is stuck to, or over the emergence profile, contours of the crown,,, is it? 6. These bicon implant's platforms have NO opportunity to put-up with any cements! Note/suggestion: Best of results for steps, at A, B, C and D from above, could be easily achieved, by providing a custom provisional crown... and It would be, at that point, easiest for the lab to simply DUPLICATE the final crown. You may consider utilising this existing abutment for fabricating a custom provisional (PMMA) crown. But, this abutment-base's configuration seems to be quite in-appropriate. Because, it may not allow sculpturing and achieving targeted crown contours. Comments, suggestions and constructive criticism welcome. amgdds@hotmail.com

Featured Products

OsteoGen Bone Grafting Plug
Combines bone graft with a collagen plug to yield the easiest and most affordable way to clinically deliver bone graft for socket preservation.
CevOss Bovine Bone Graft
Make the switch to a better xenograft! High volume of interconnected pores promotes new bone. Substantially equivalent to BioOss and NuOss.