Is the cortical bone too thick for augmentation?
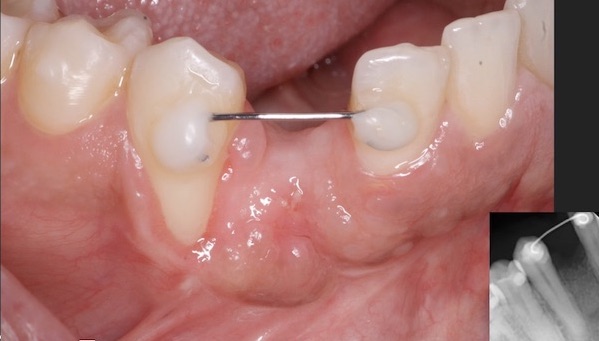
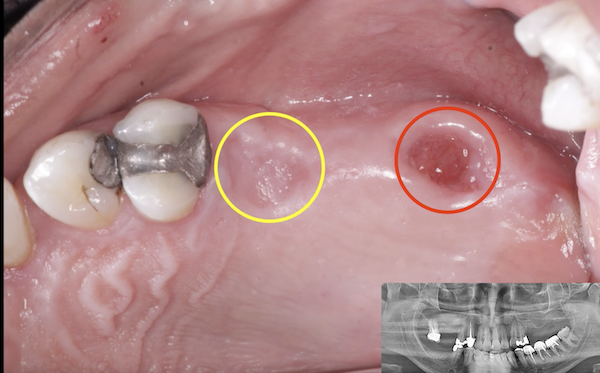
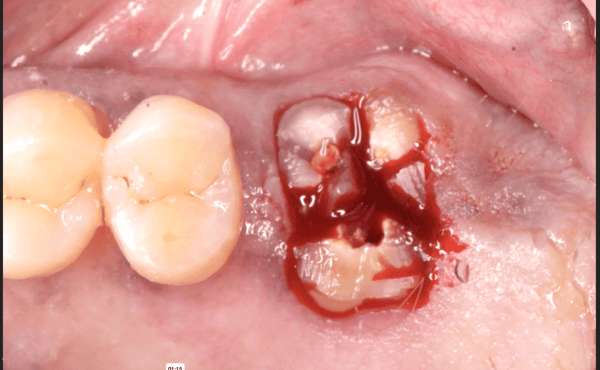
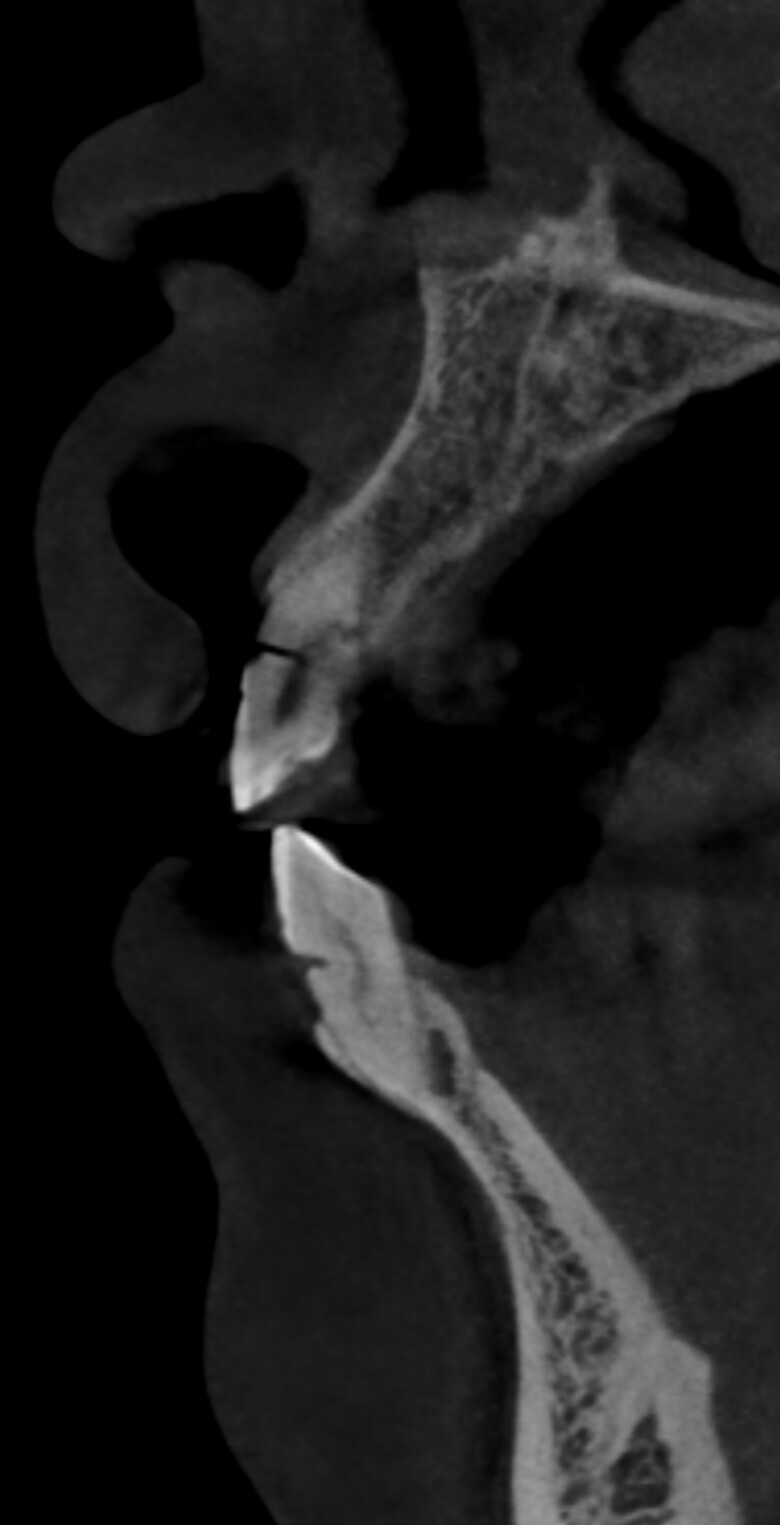
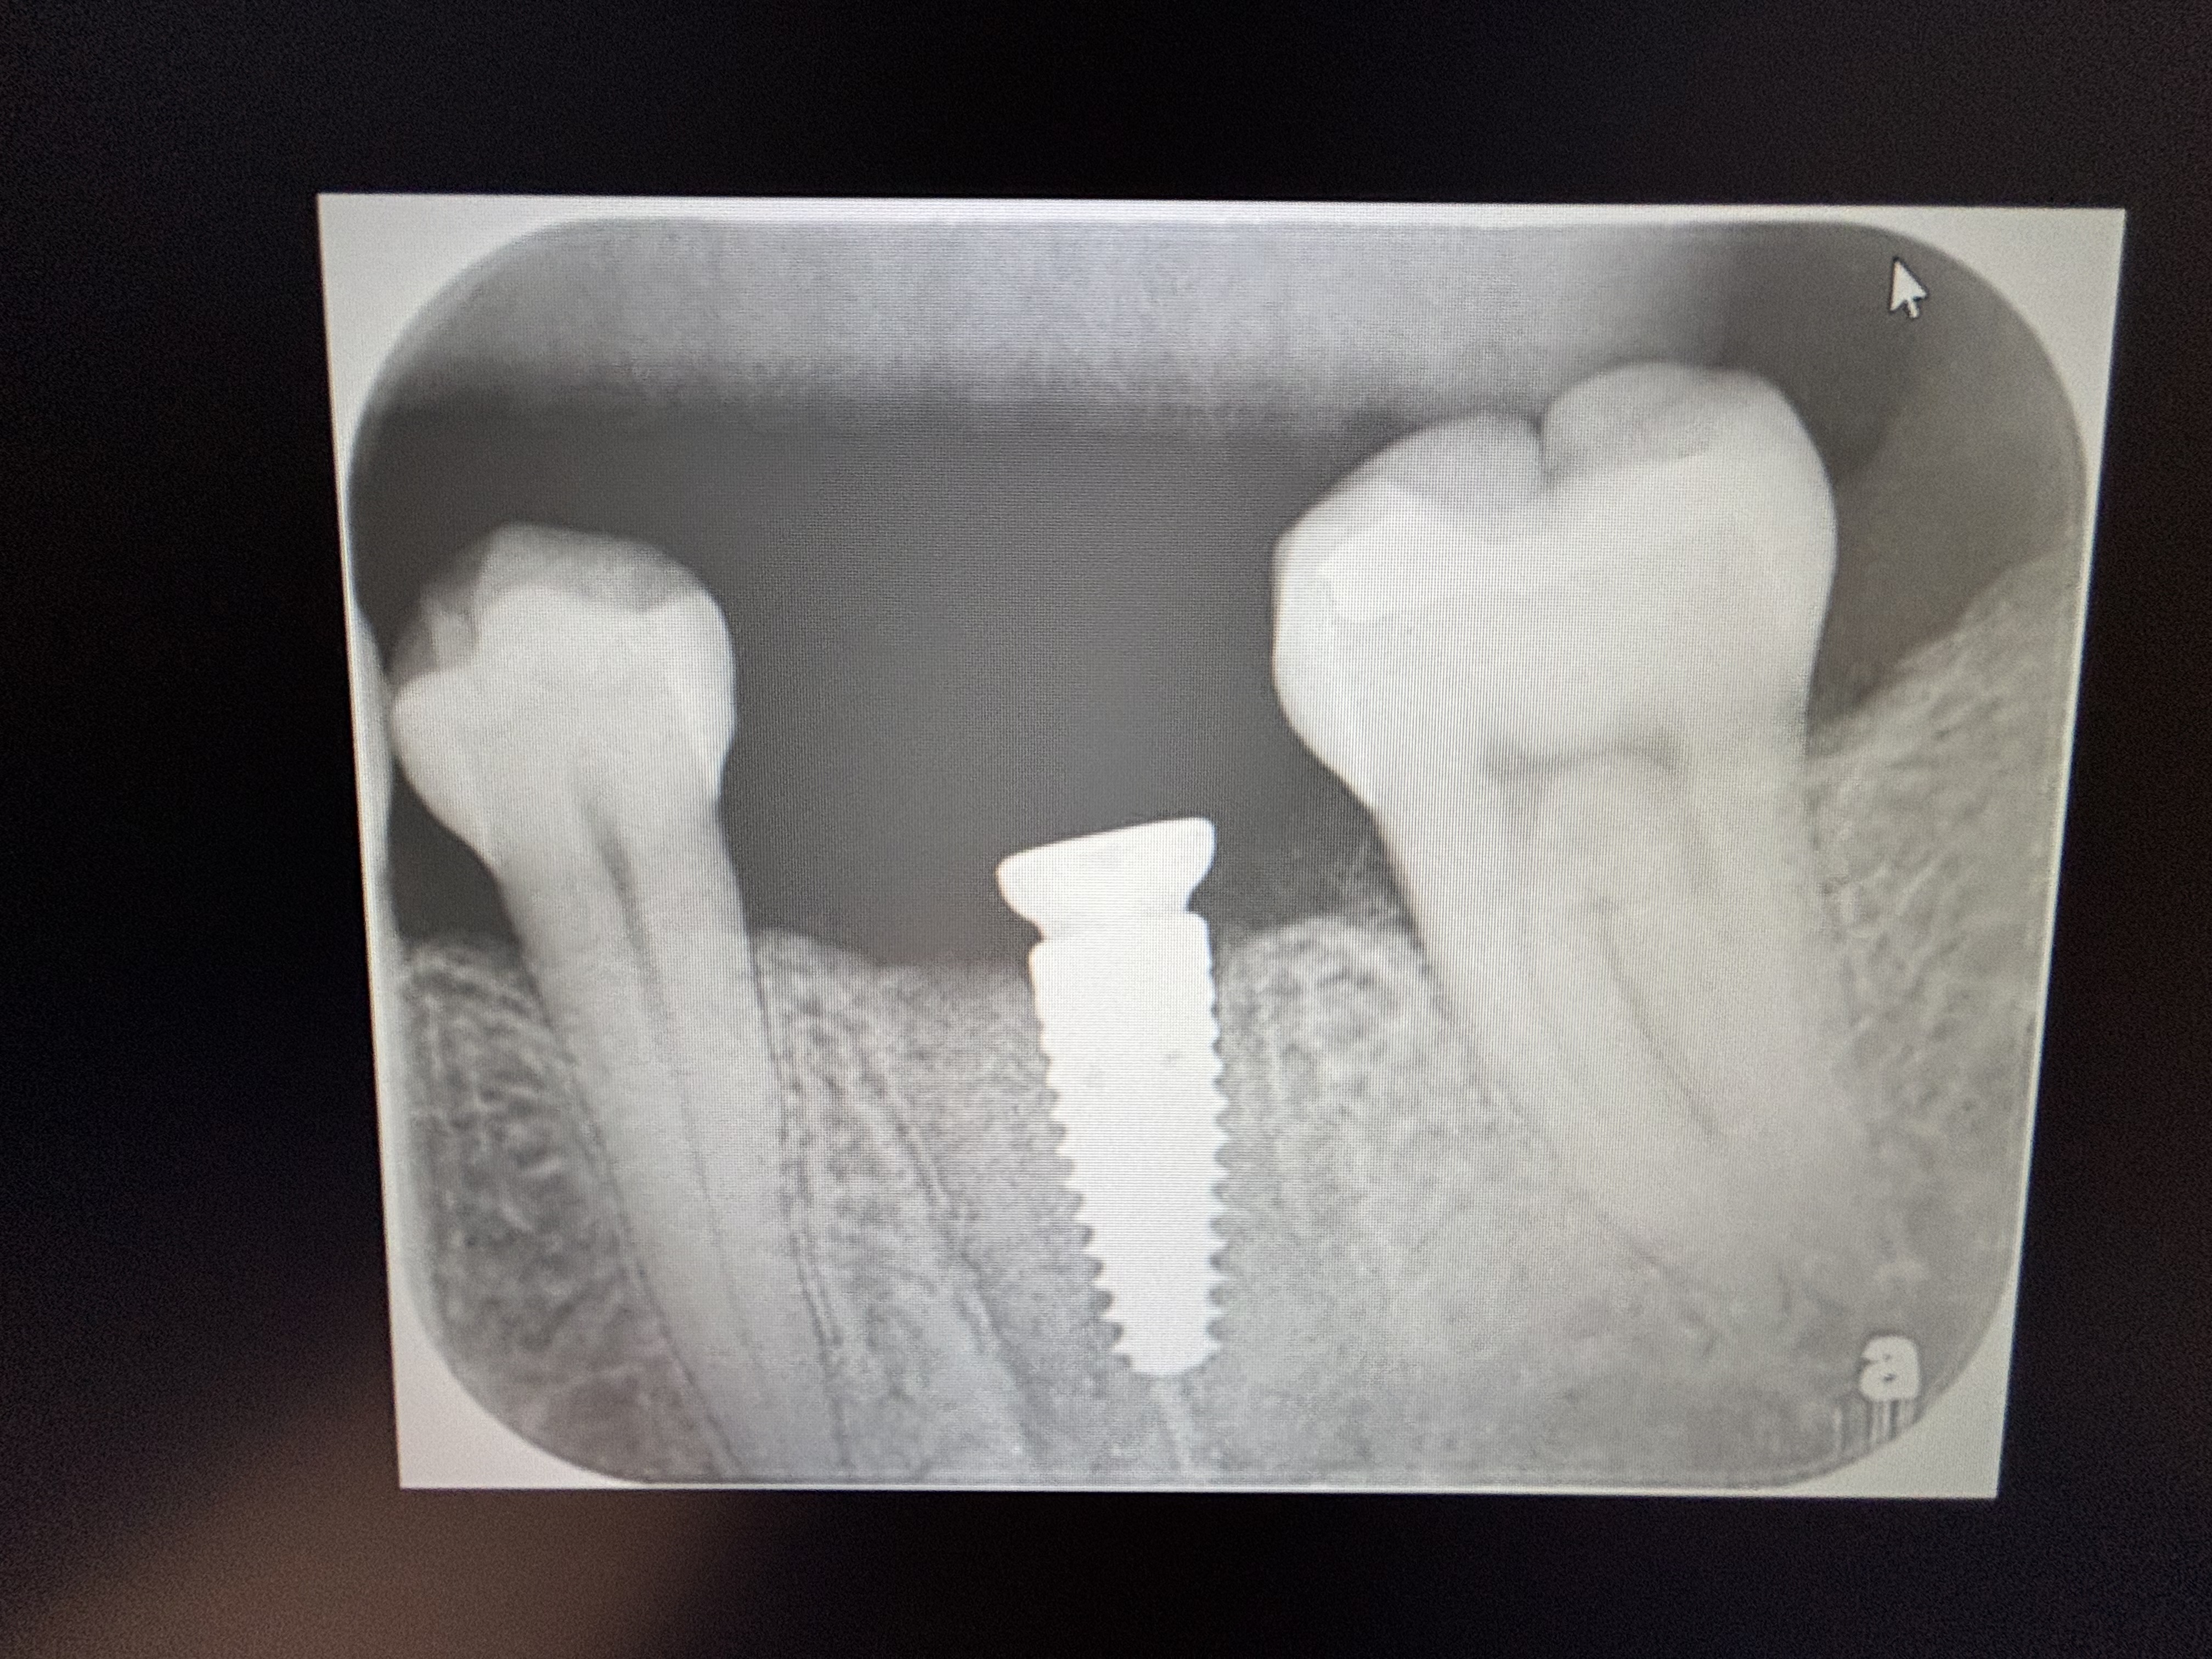
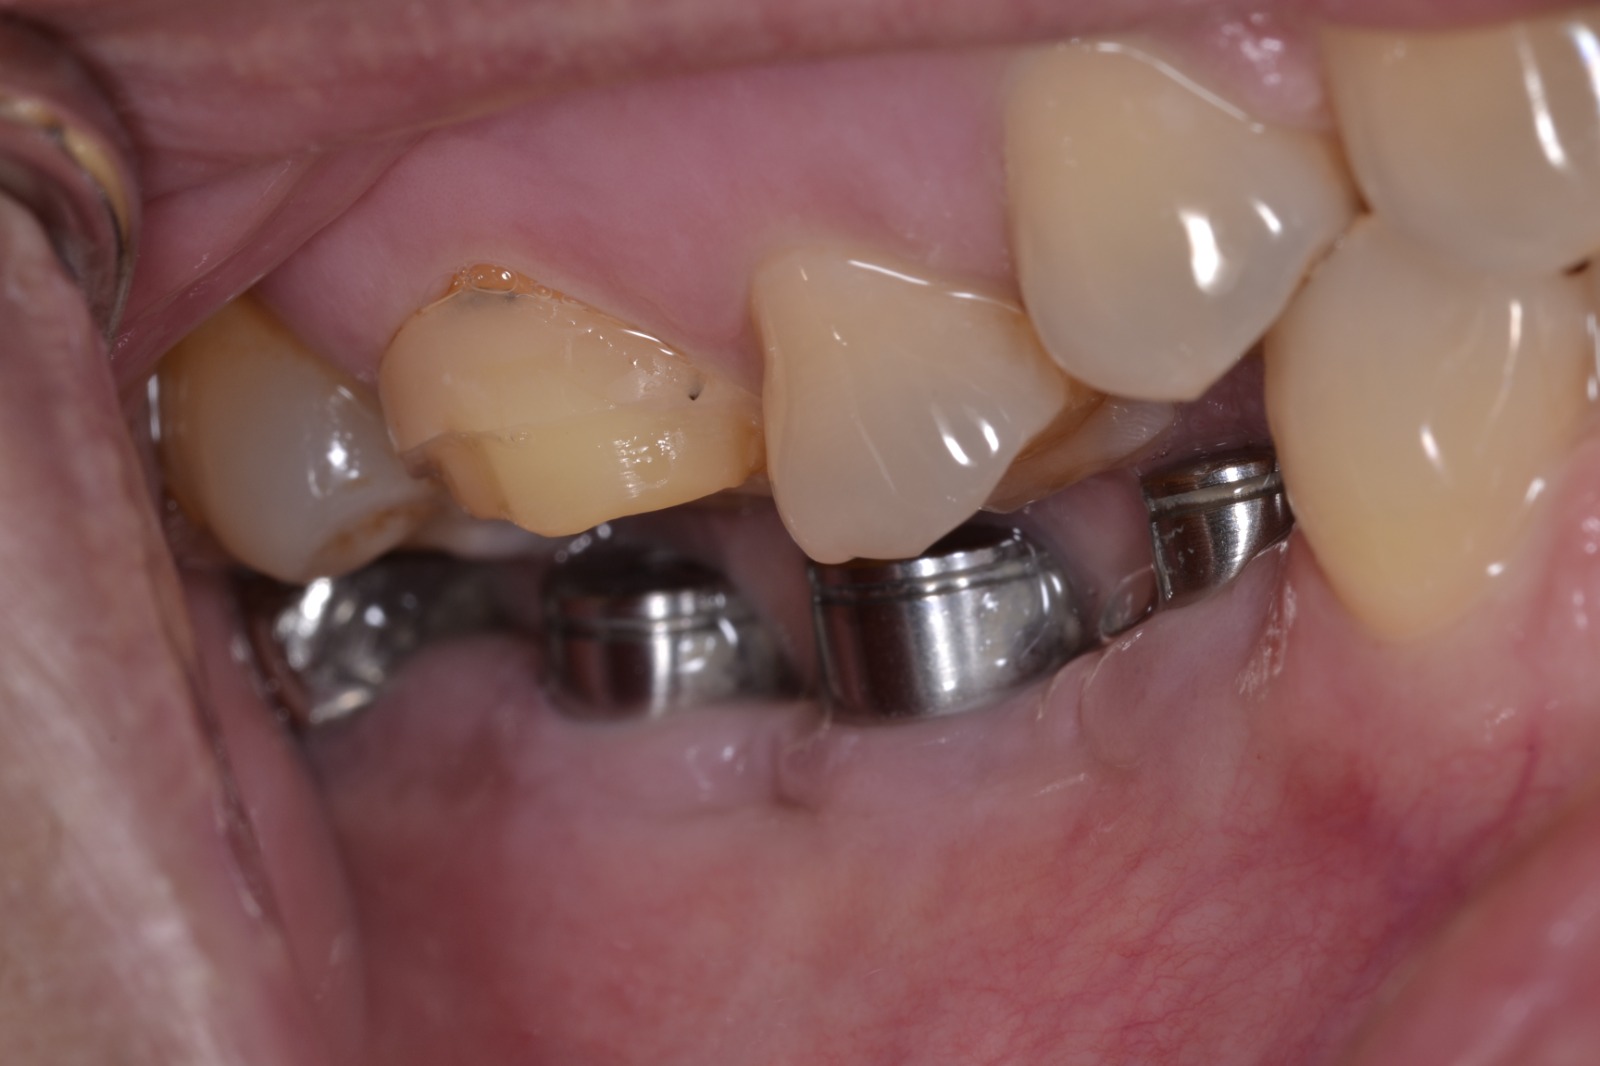
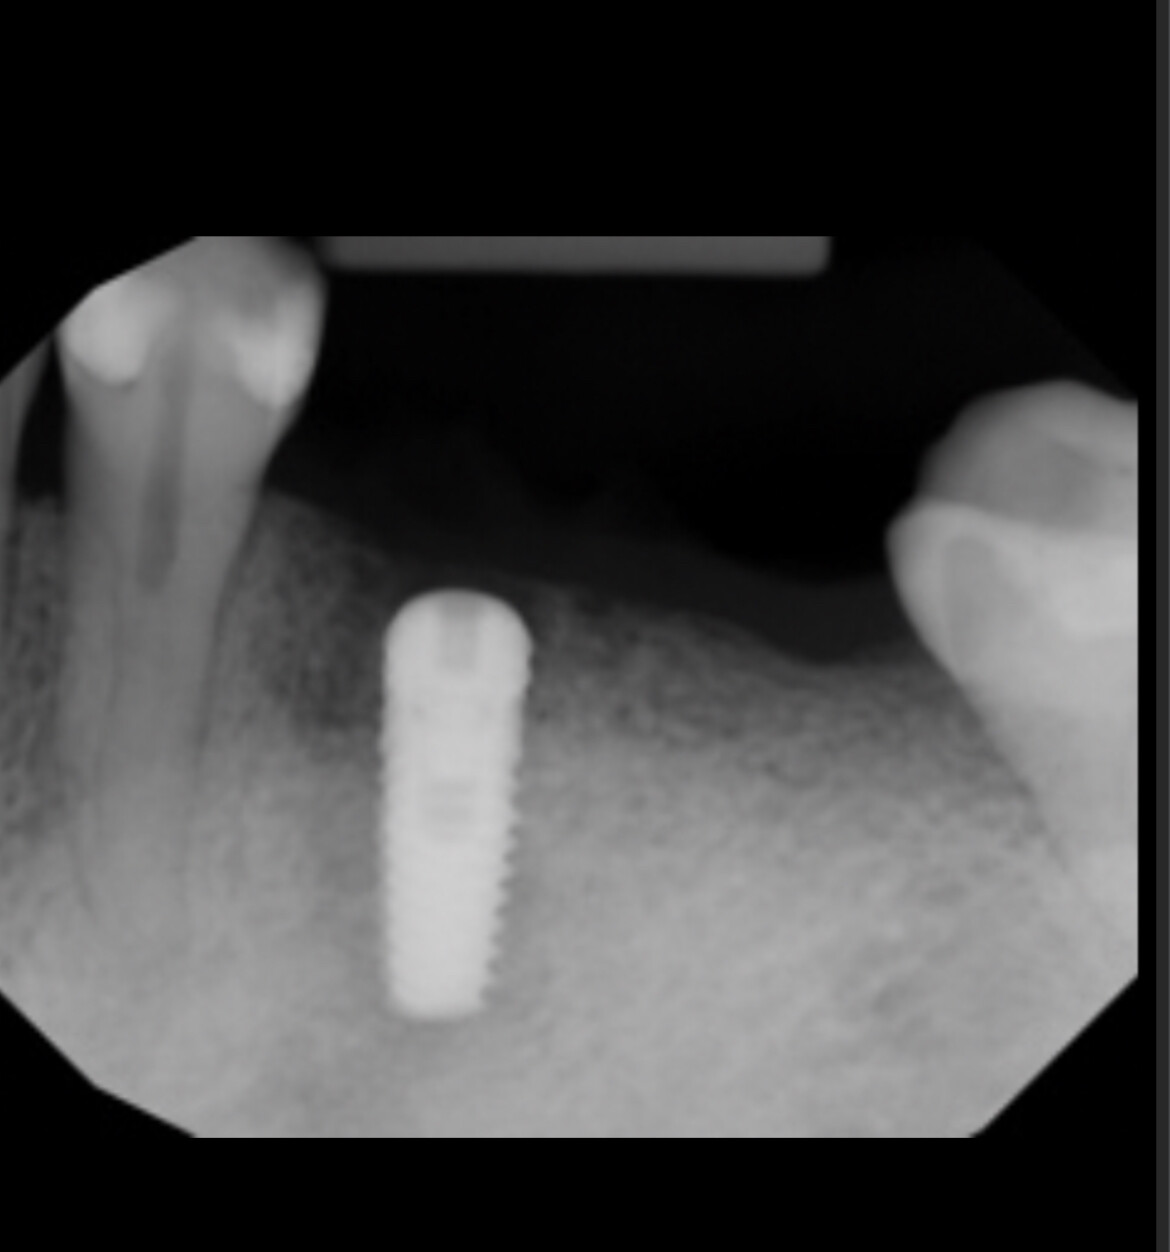
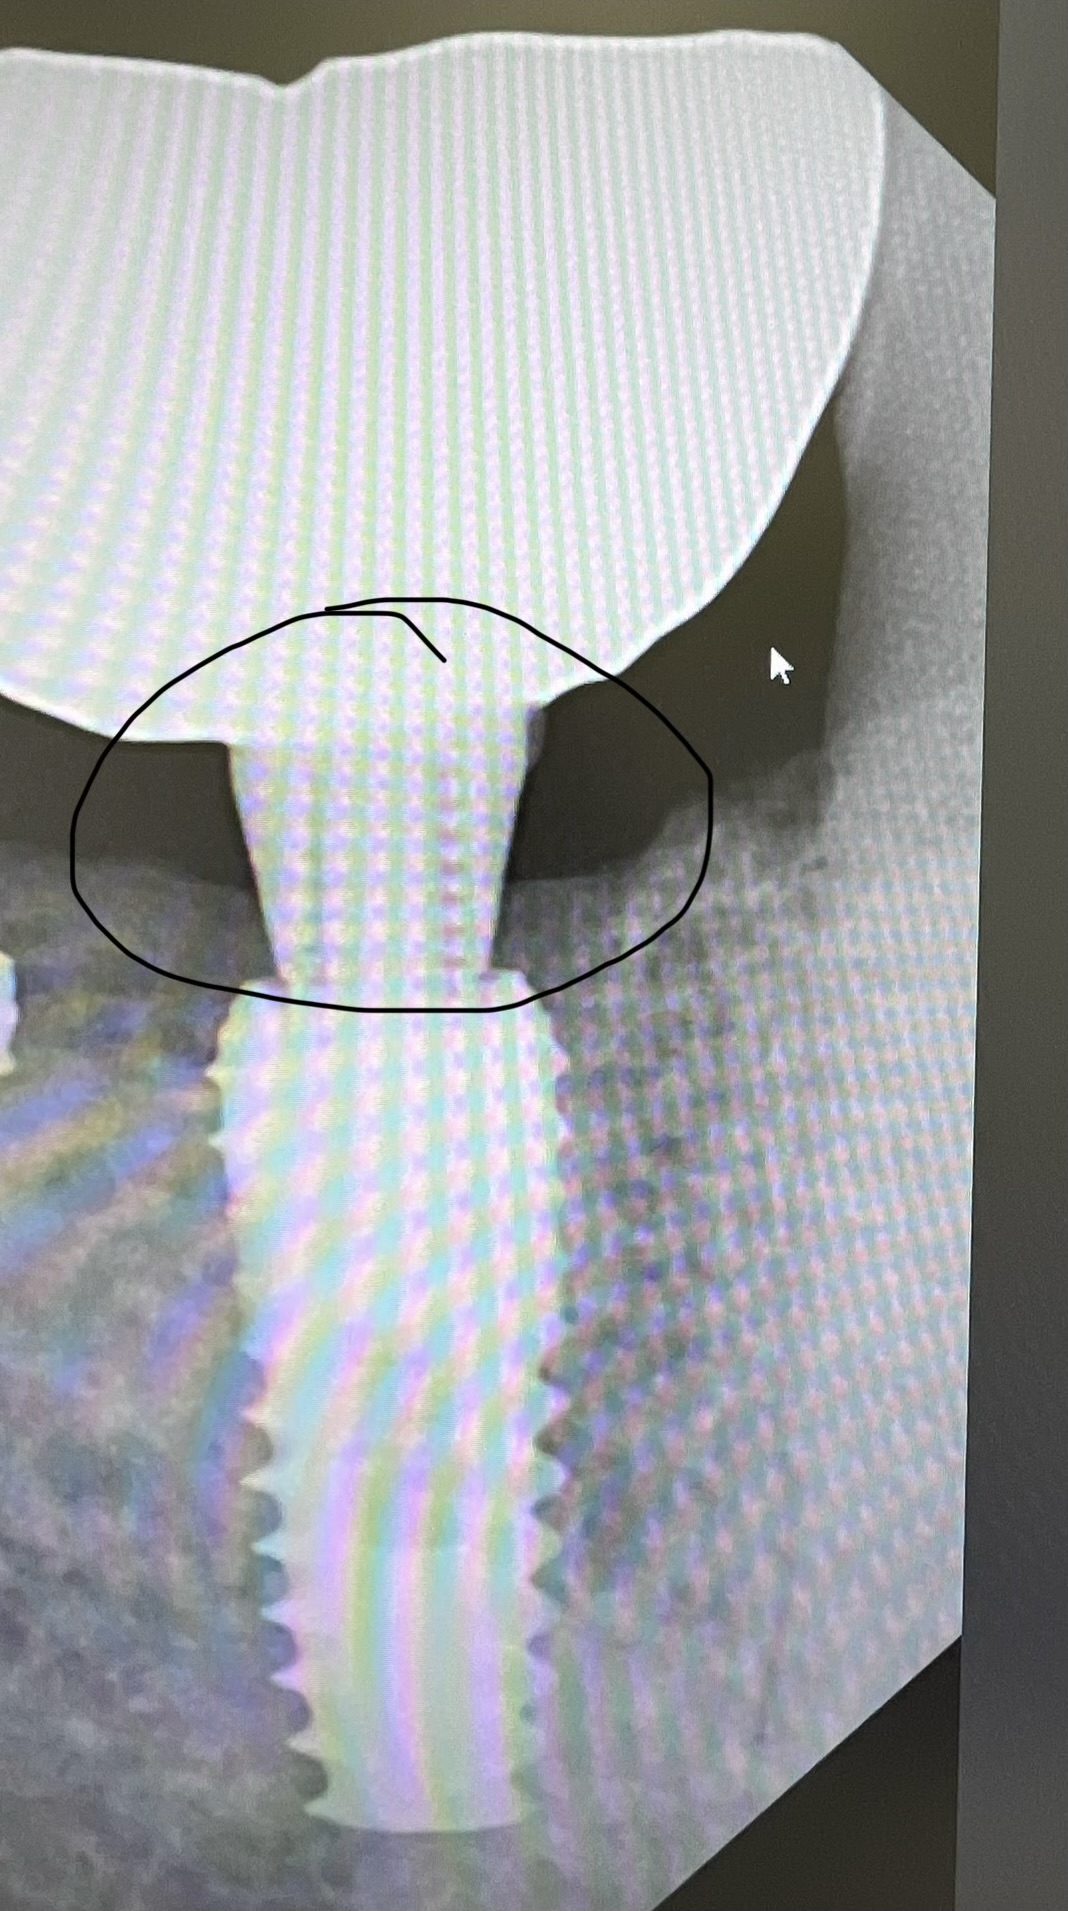
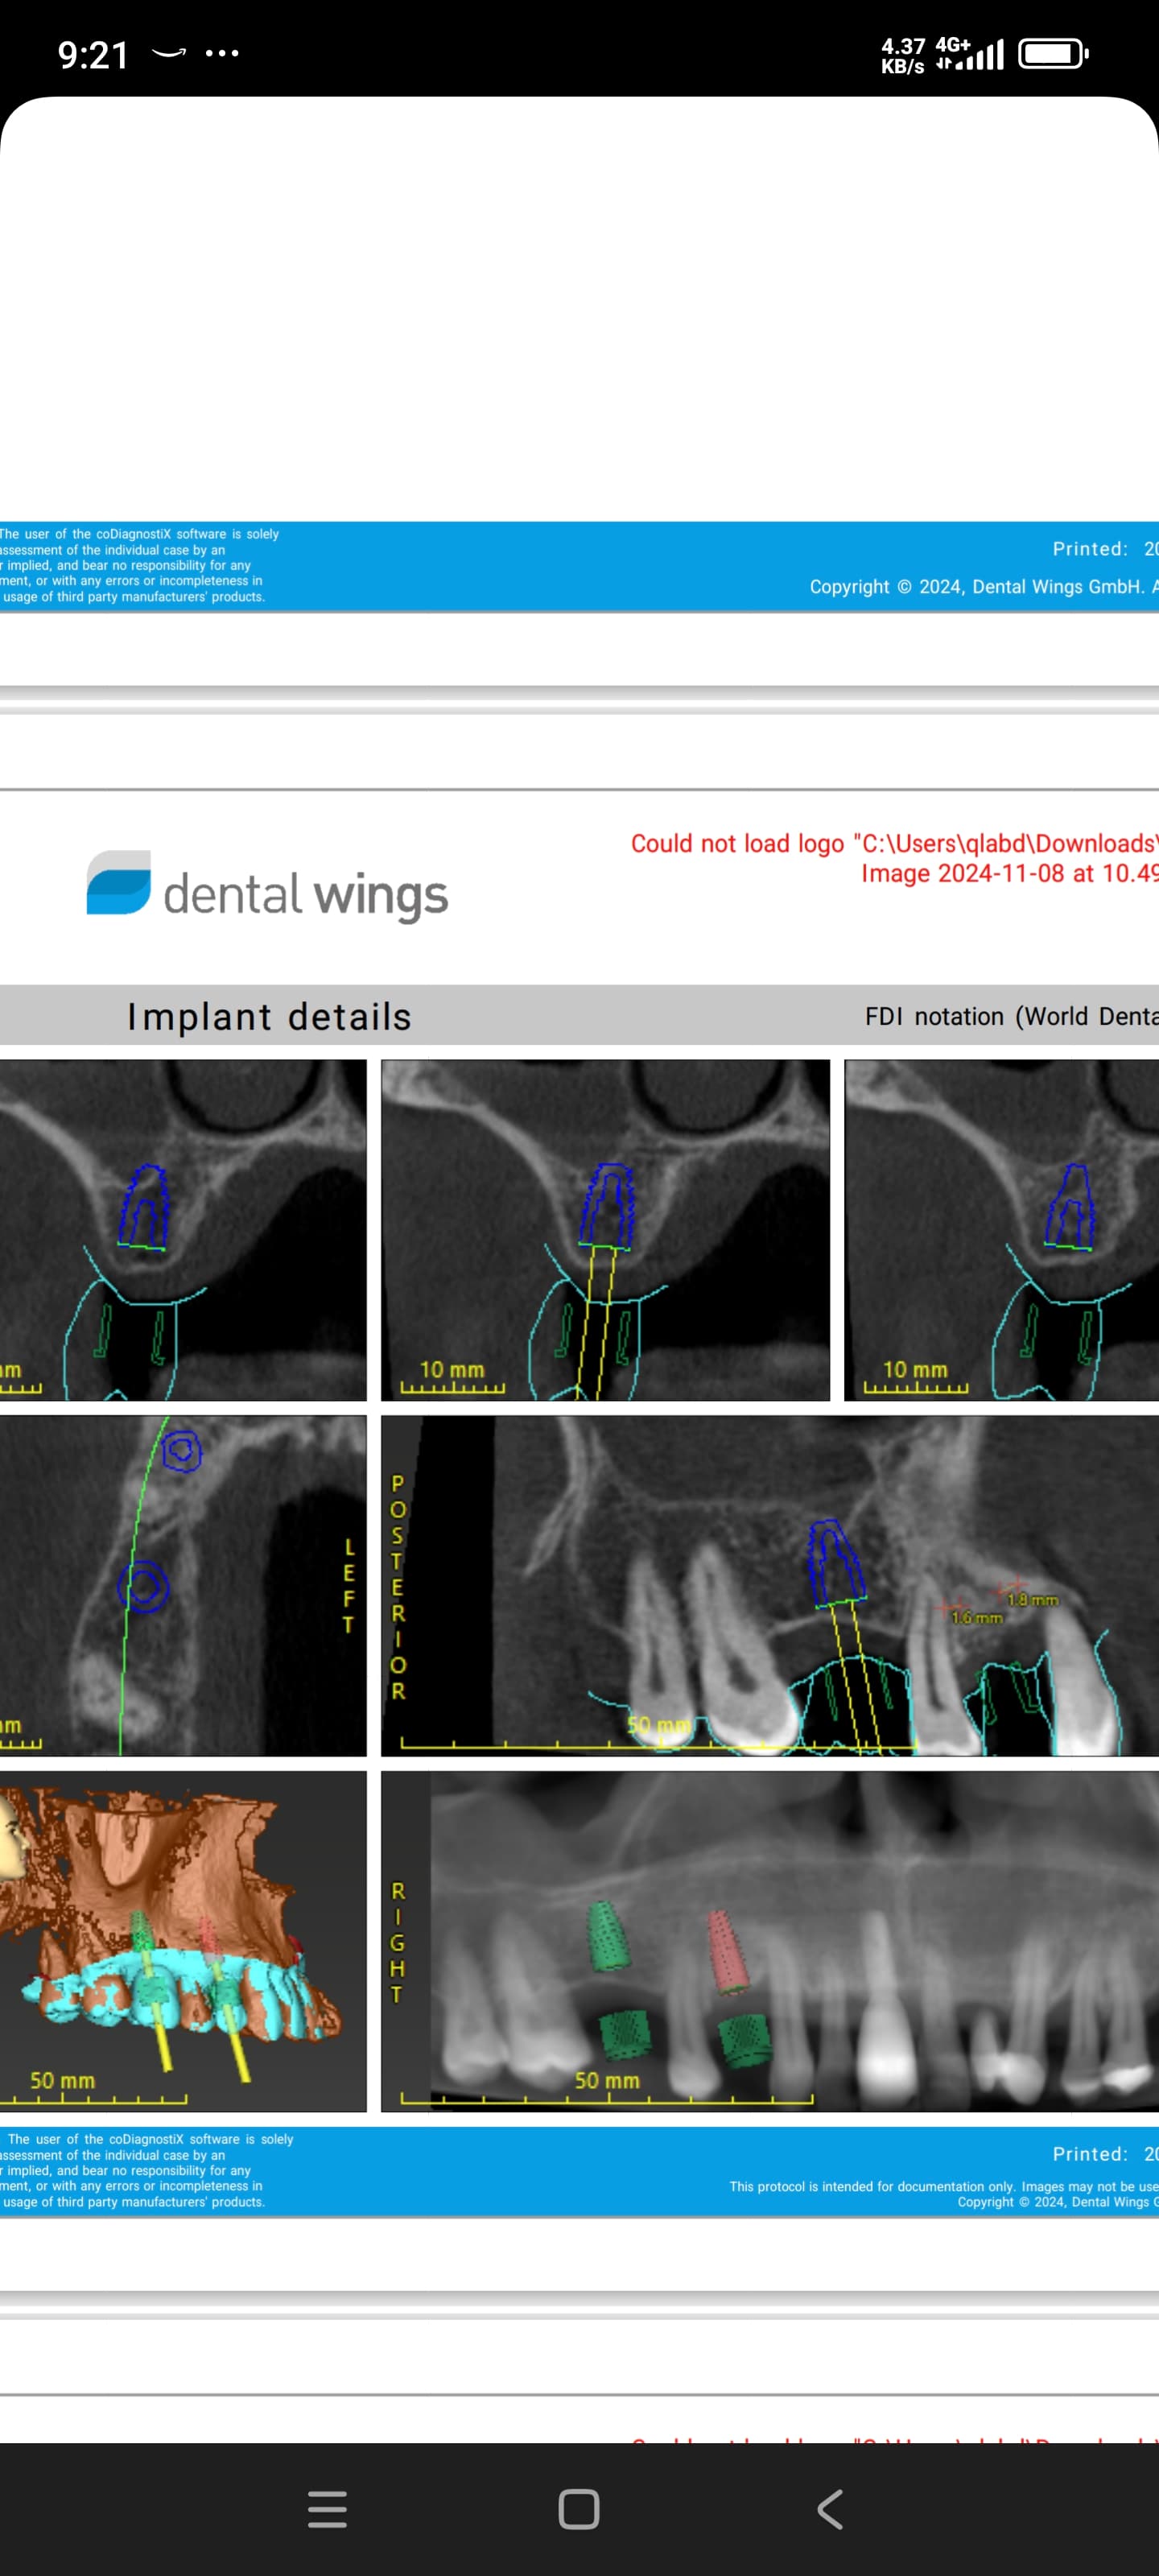
This patient needs an implant in lower left first molar area. CBCT shows that the bone width is about 5 – 5.5 mm. Also it is visible that cortical bone is about 2 mm thick. If I perform a lateral bone augmentation with xenograft and a collagen membrane, I expect that there will be insufficient blood supply, increasing the risk of failure. In this case I have 2 options: 4.1mm implant with augmentation or 3.3mm without augmentation. Which one is safer in your opinion?


13 Comments on Is the cortical bone too thick for augmentation?
New comments are currently closed for this post.
Peter Hunt
6/18/2019
Well, a 3.3mm implant in the molar region is not liable to be successful in the long term as the loads on the connection would be liable to cause implant fractures or connection failure over the years.
So you are thinking along the right lines in that it would be good to have a larger ridge available for a larger implant. Augmentation is but one way to achieve that. Also ridge splitting should be considered. Many might want to do this in a one stage procedure, but here the cortical plate is very thick so this might not be easy.
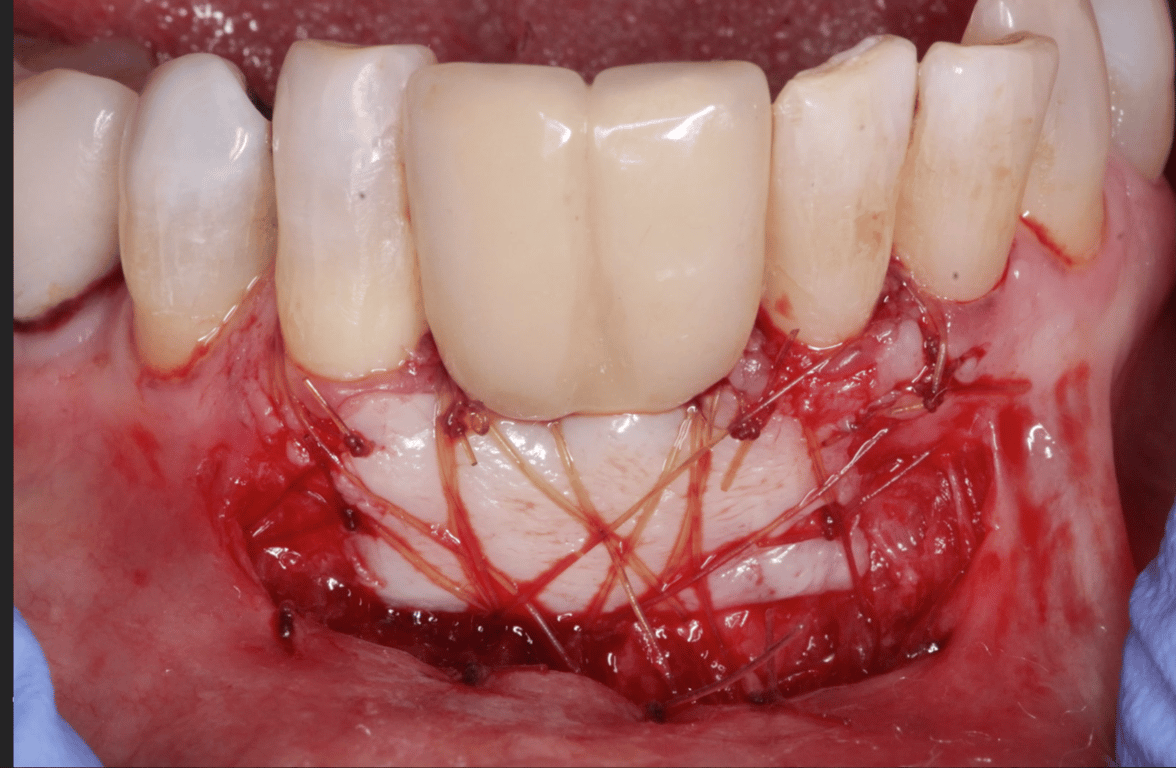
Another way to achieve this would be to do a two-stage split. At the first stage, you raise a full thickness flap in the region and make cuts in the bone, preferably with an ultrasonic saw and lots of water cooling.
One vertical cut should go behind the premolar, another some distance behind where you want the implant. These should be joined with a horizontal cut at the apical region down below where you expect the implant to finish up. The final cut is along the crest of the ridge. These cuts should go down to the cancellous bone, you will know where that is when you get bleeding at the bottom of the cut.
At this stage you close the flap back and suture. One month later you re-enter with a crestal incision. The margins of the flap are reflected back just to expose the crest. The comes the fun part which involves moving out the labial plate and placing the implant. Some would do this with wedges, there are some screw devices which would have the same effect. Essentially you would be separating the bone plates while maintaining cancellous bone still attached to the cortical. When the split gets large enough then you can switch to implant drills and use the implant to spread the plates apart. When the implant has been placed then you can place some bone graft in the channel gap with a membrane over the region and then close the soft tissues as best you can.
If you want the particulate augmentation mode then you need a full thickness labial flap in the region. To have a hope of the bone graft “taking” to the cortical plate of bone it would be necessary to perforate the plate with a #2 round bur many times. Then a membrane would be placed and the bone graft needs to be placed down between the bone graft and the cortical plate. Over build on the bone graft as this will shrink down as it consolidates. In this particular case, because of the thickness of the cortical plate, I might want to delay placement of the implant for three months.
Both the augmentation process or the two stage split can be very successful. Both should be thought of in the mode : “Think Biologically - Act Logically“. Just proceed steadily and you should be fine. However, it you feel uncomfortable with doing this then refer to someone who is comfortable managing a situation like this. It would be a good case to observe while it is being performed. Good Luck.
Dr. Tim Hacker DDS, FAAID
6/18/2019
Dr. Peter Hunt is describing a well documented technique for ridge expansion we call, "Vascularized Lateral Ridge Expansion." The Wilco brothers of Erie, PA began exploring this type of osteotomy in the 1990s to greatly decrease treatment times in orthodontic cases. Buccal and lingual flaps were released and cuts made around each tooth root. The technique was first described by Dr. Suya In Japan.
In the application for implant placement the ideal mandibular ridge is >3mm with >11mm above the IAN.
The 2 surgeries are separated by a 4 week healing interval to allow the periosteum to regenerate and attach to the boney segment.
Every "VLRE" case I have done is flapless second surgery using bone expansion techniques with graduated osteotomes. Final implant site preparation has been with a drill taking care not to allow the drill to cause the buccal segment to come loose from the periosteum. There is no need for any bone augmentation, membranes or other Voo Doo that may have complications of their own. If you want to know more about specific protocols or learning this technique you may contact me directly by my email.
Matt
6/18/2019
Dr. Hacker, thank you for the comments. I would greatly enjoy learning more about this technique. Would it be possible to find out more about the VLRE protocol. I would appreciate it if you have any other information that you could share. Thank you!
[email protected]
Dr. Gerald Rudick
6/18/2019
The above explanations are very well documented....however, this patient has many dental problems that should be addressed...….. I would suggested extracting # 28 & #38, placing a sufficiently wide implant in the #36 area, and distalizing the #37 orthodontically to line it up properly. The rights ide of this patient's mouth has to be dealt with which would include placing implants in the #46 & #47 areas, and dealing with the other teeth in these areas.
miguel
6/18/2019
hello. i enjoyed reading two options above, and maybe after a few more years, can offer that treatment also. in my hands, i can’t split so short mesial/distal space. adding dense cortical bone you refer to makes it even more difficult. i would like to see study mentioned by dr. hacker; clicked on name and no email to contact directly. can you please share?
what i would do in this case would be to plane the ridge and place 4.0x12. i agree that with no vascularity at/around platform you will shortly have exposed threads.
perioprosth
6/18/2019
I think the technique explained by Dr Hunt, should be the safest way to place a 4.1 mm implant but making ridge split in a short distance is risky and may cause necrosis of the buccal plate. Most of the techniques for ridge split is described in a longer ridge span, so keep that in mind. Also the original Ridge Split technique is described without raising the full thickness flap to avoid necrosis of the plate. Think about it you cutting all the sources of blood supply, and the only one is left is the periosteum! however this technique had been modified many times given different circumstances.
i believe the safest way is to expand the ridge internally, let it heal and then place the 4.1 mm implant. Given the thick cortical plate, expansion is more predictable than augmentation. If you go for the augmentation, use many (more than usual) decortication for an adequate bleeding bed.
If you are using the ridge split technique explained by Dr Hunt above, consider using a Lag Screw to keep the B plate stable at the desired distance from the Lingual plate and fill the gap with allograft.
By using a two steps, if you don't get the desired expansion, you don't loose the implant.
good luck
perioprosth
6/18/2019
to elaborate on the technique explained above by Dr Hunt (thank you for sharing) which i admit i didn't know, i would like to add this link for better understanding the technique. I hope it would help.
https://www.bicon.com/tech/t_SM_sp05.html
Timothy C Carter
6/19/2019
I see this as a simple one stage case. I would place a 4.7mm (Zimmer TSVM) which has a 3.9mm apical diameter. Ther is plenty of bone to stabilize the fixture and I would then add particulate to the exposed coronal threads. I would bet that you could insert this fixture with great primary stability and place a healing (I almost always place healing abutments at placement in the posterior) and complete this in 10-12 weeks. I know it is fun and exciting to perform all of these techniques (ridge split, block graft, 2 stage GBR etc..) and I have performed all of them. I can assure you that this can easily be treated in one stage with some additional particulate, which I don't even charge for the graft as it is the cost of doing business for me.
Dr. I Erwood
6/19/2019
I agree with Dr Rudick. The occlusion and tipped Lower Left 2nd and 3rd Molar must be addressed first. Just placing an Implant Crown in the Lower Left First Molar area will create a constant food trap. It also looks like the Upper Right First Molar requires intrusion (TADS).
Greg Kammeyer, DDS, MS, D
6/19/2019
The techniques described by the first 2 surgeons are sound ideas: The challenge is that since you had to ask, I'll guess you don't use TiMesh or Ti-dPTFE membranes. A collagen membrane would be more common, yet less space maintaining and you will only gain 1 mm of bone thickness. Ridge spits for spaces of one tooth are tricky at best and the mandible split is more challenging. I would suggest you take alot of training in GBR and if you have done that, lean toward the Ti-dPTFE. If you've taken training in ridge splitting, and have used the technique on the maxilla, then the protocol described above is sound. Be sure the displaced bone segment is more than one tooth, as that lack of vascularity in the cortical bone works against you with ridge splitting, much like it does with block bone grafting.
Mark
6/20/2019
How about using two 3mm diameter implants for one molar and avoid the ridge split
Terence Lau, DDS, FICOI,
6/25/2019
I'm surprised no one mentioned the poor prognosis created by the mesially drifted #18 and #17. How about extracting the upper and lower wisdom teeth, uprighting and distalizing #18 to create at least 13-15mm and then place two 3.0-3.5mm implants? Or you can extract and graft both #17 and #18 and now the widening of the ridge site #19 is much easier utilizing the aforementioned techniques.
ltd.healthy
7/1/2019
Thank you all for your thoughts and thorough explanations. The patient will undergo the procedure after 3 months, therefore I have sufficient amount of time to prepare for it. Hope to inform you about the outcome.

